Before (& During) & After: Part 5
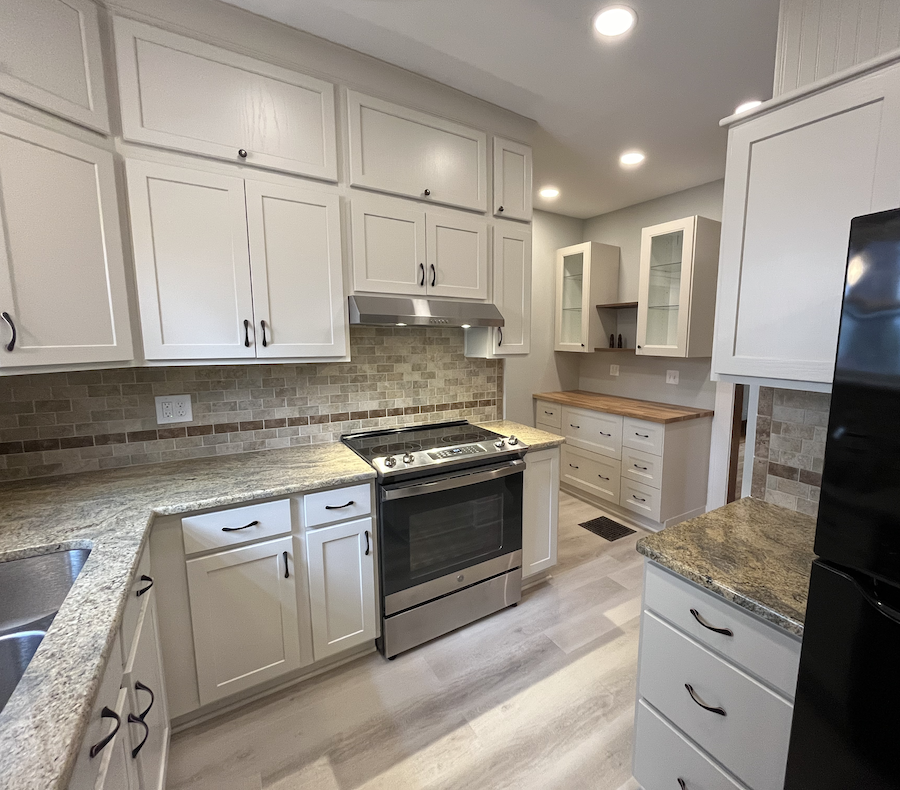
And then there was the kitchen.
Let's start with the "before." Here's the way the kitchen looked when we bought 615 Sunset Lane in January 2024. This was looking from the dining room doorway.
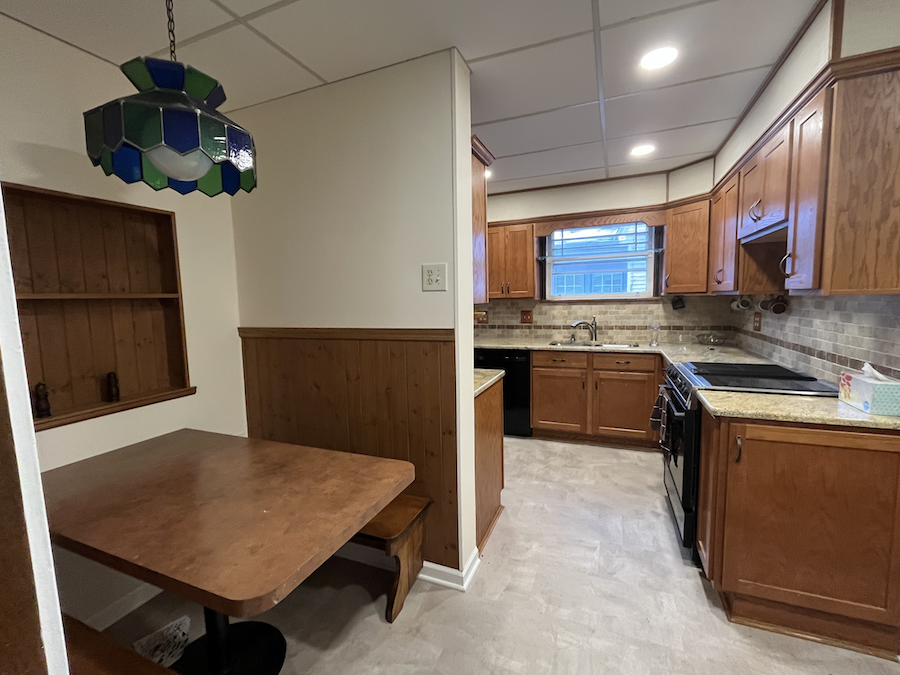
As you can see, the kitchen had a drop-ceiling with styrofoam tiles. Many of the walls were covered in 1970s-style "paneling" (pressboard) that was thickly painted. The floor was covered with a relatively new vinyl tile. The breakfast nook had a formica top with a bar-style lamp fixture.
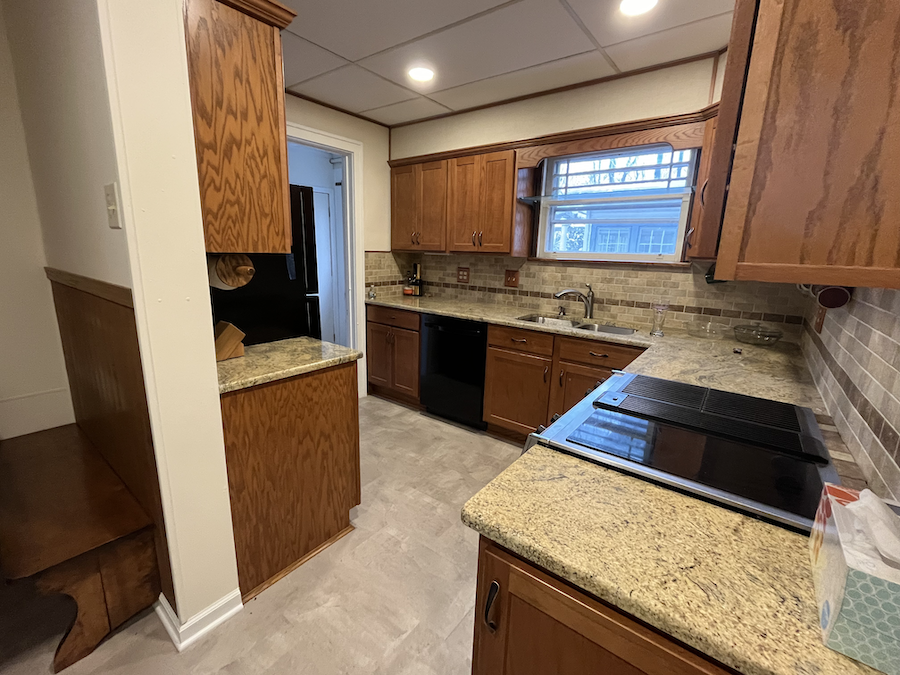
The cabinetry was in good condition, as were the relatively new granite countertops and tile backsplash.
By way of layout, the kitchen has three entrances, or four if you count the door to the basement stairs. In this photo, you see the doorway from the dining room into the kitchen:
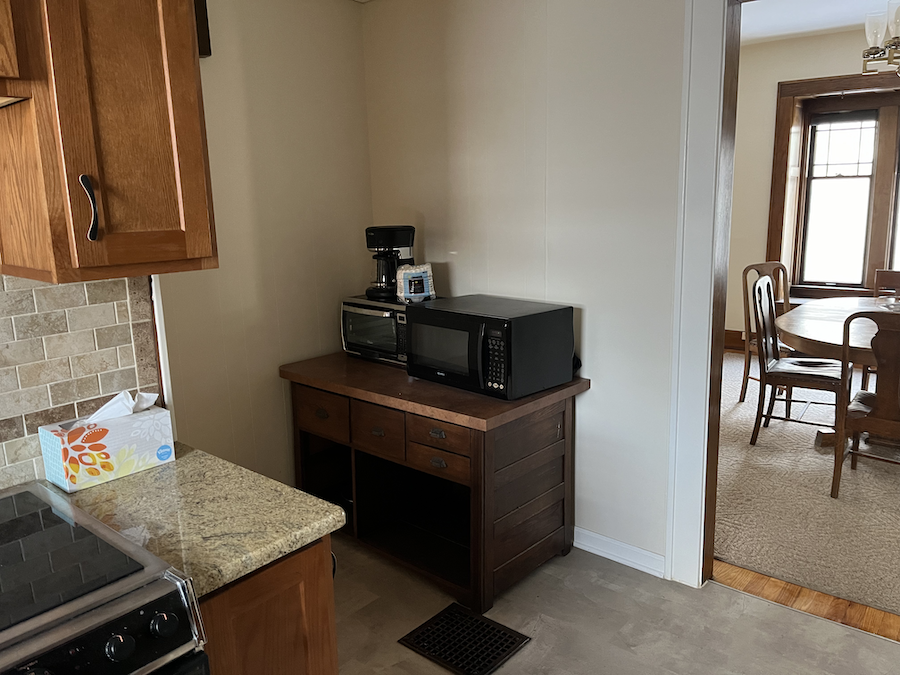
In this next photo, you can see two of the entryways:
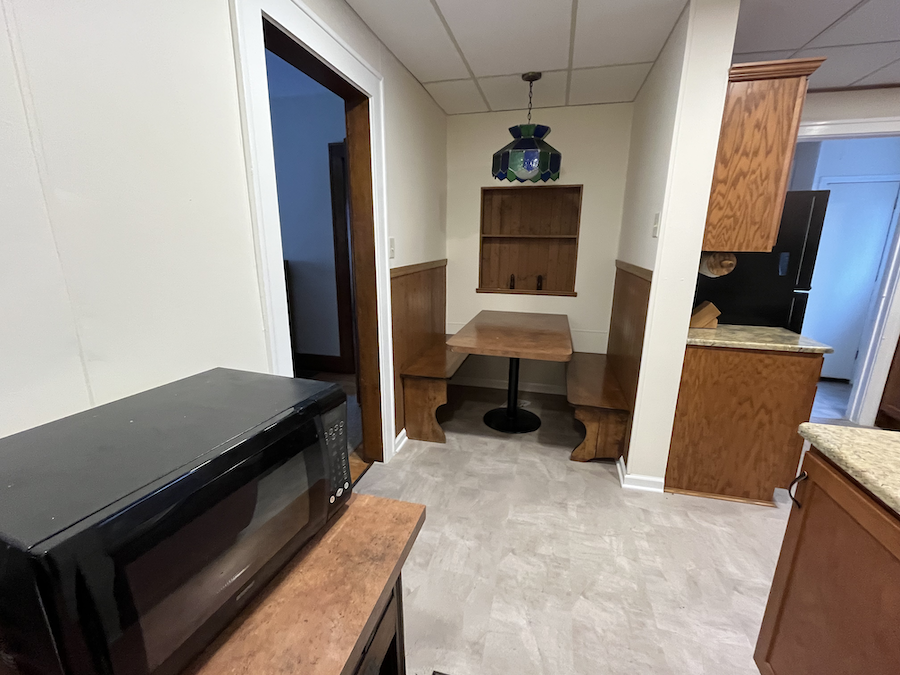
Above, the doorway just to the left of the breakfast nook goes to the dining room. At the back right of the photo, you see the doorway that goes to the vestibule and a bathroom. (Read about the vestibule and back bathroom here.)
To take the photo above, I was standing in the southeast corner of the kitchen. Behind the wall to my left was the dining room. Behind the wall behind me was the living room. Now imagine me pivoting 90-degrees right. This is what you'd have seen in January:
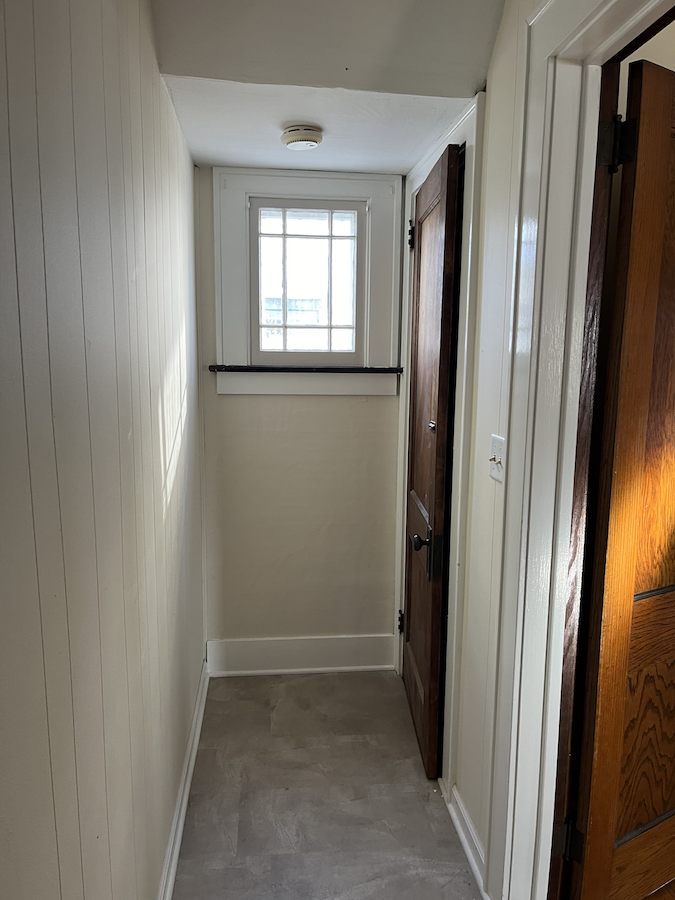
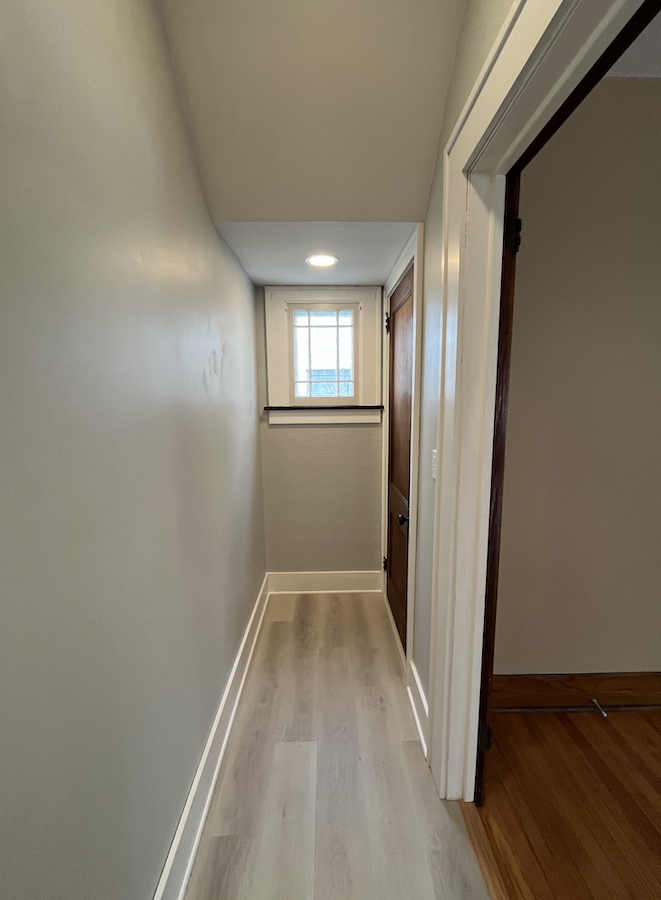
The adorable window faces our house, to the north. The door just to the right of the window takes you down to the basement. The door on the far right of the photo goes to the living room.
When we bought 615 Sunset Lane, my thought was that we'd have to tear out the 1970s painted "paneling" in the kitchen, tear down the styrofoam drop ceiling, and pay our excellent drywaller to replace all that.
Well, he came, he gave a reasonable bid, and he recommended a guy to do demo. That guy was the general contractor who ended up becoming an advisor to me, as well as becoming our framer, trim-finisher, and all-around handyman for tricky stuff. (I am happy to highly recommend him and the drywaller, by the way.)
Knowing I wanted to save money, the GC soon suggested we handle much of the tear-out of ceiling and walls ourselves. He would then come in, frame the ceiling, and the drywaller could put up a new ceiling and the new walls.
The first thing we did was pull down the tiles from the ceiling so we could see what was up there.
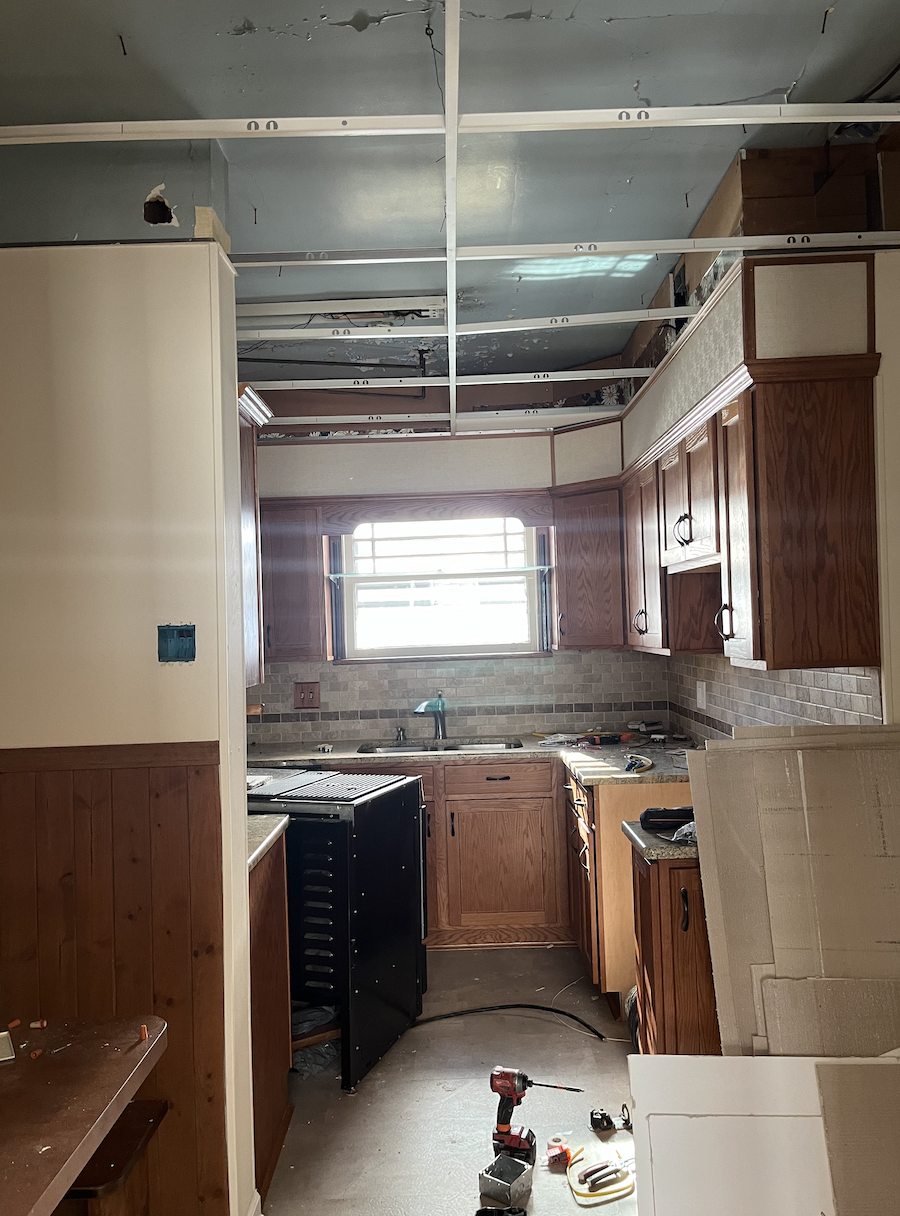
That quickly led to two discoveries. First, the plumbing to the second-floor bathroom was a hot mess.
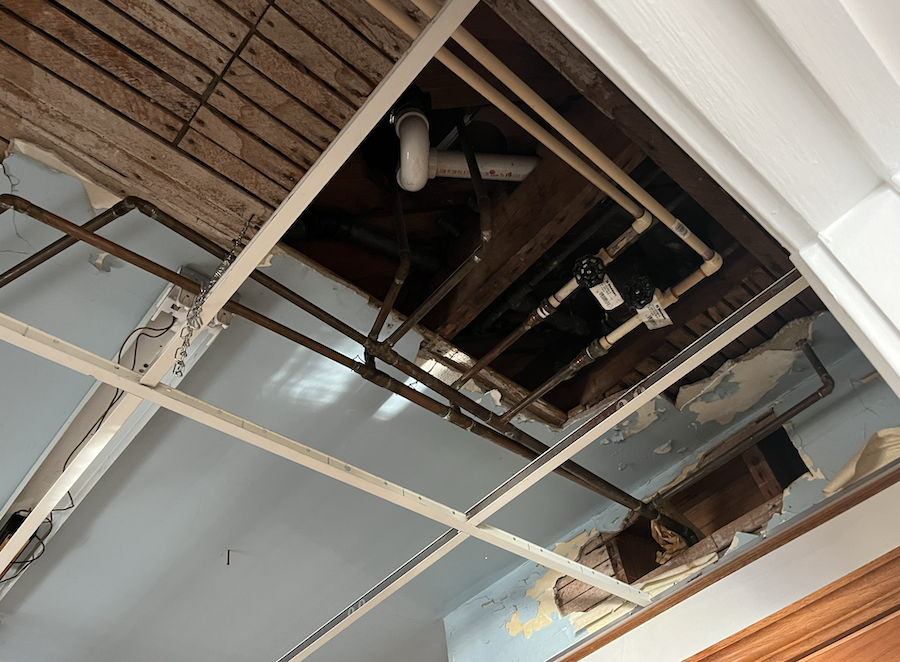
We soon realized we'd have to replace all that plumbing, which meant a major reno of the second floor bathroom. (Read about that here.)
The second thing we realized was just how high the original ceiling was. It was a grand height!
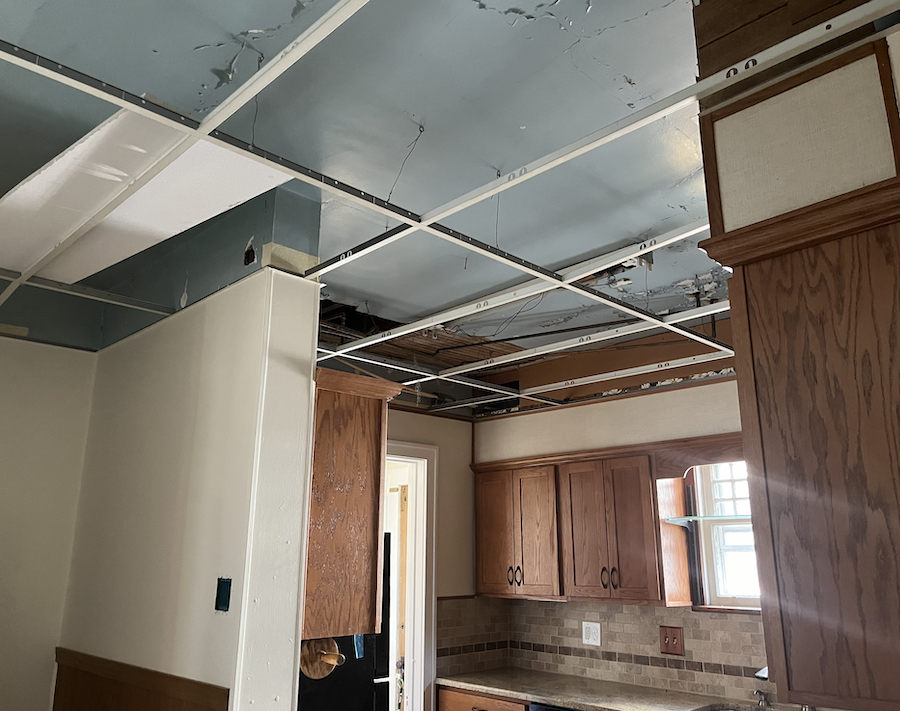
Removing the drop ceiling and the soffits above the upper cabinets and going all the way back to the original ceilings would get us another two feet of ceiling height!
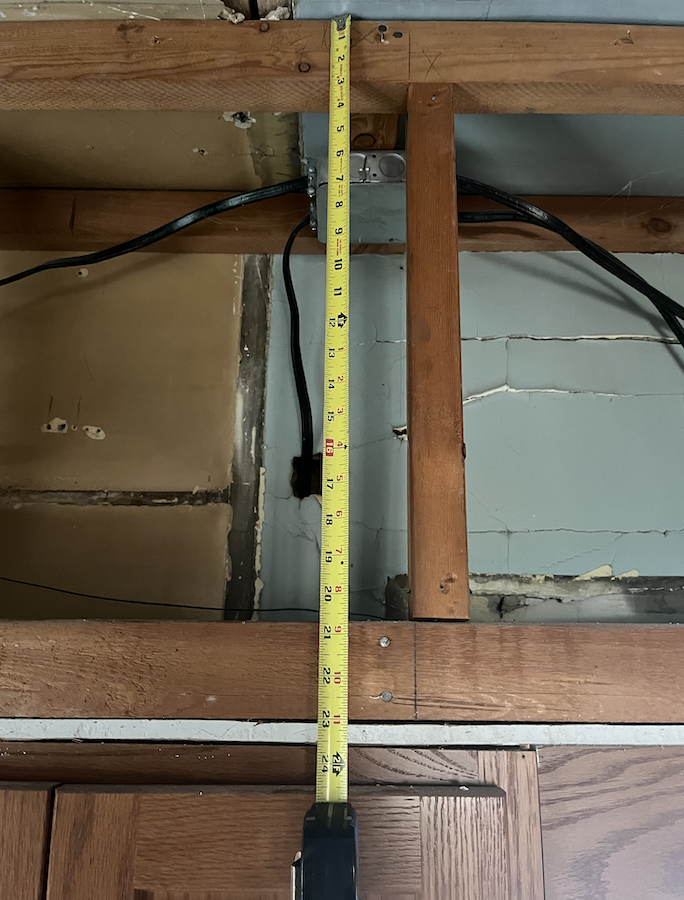
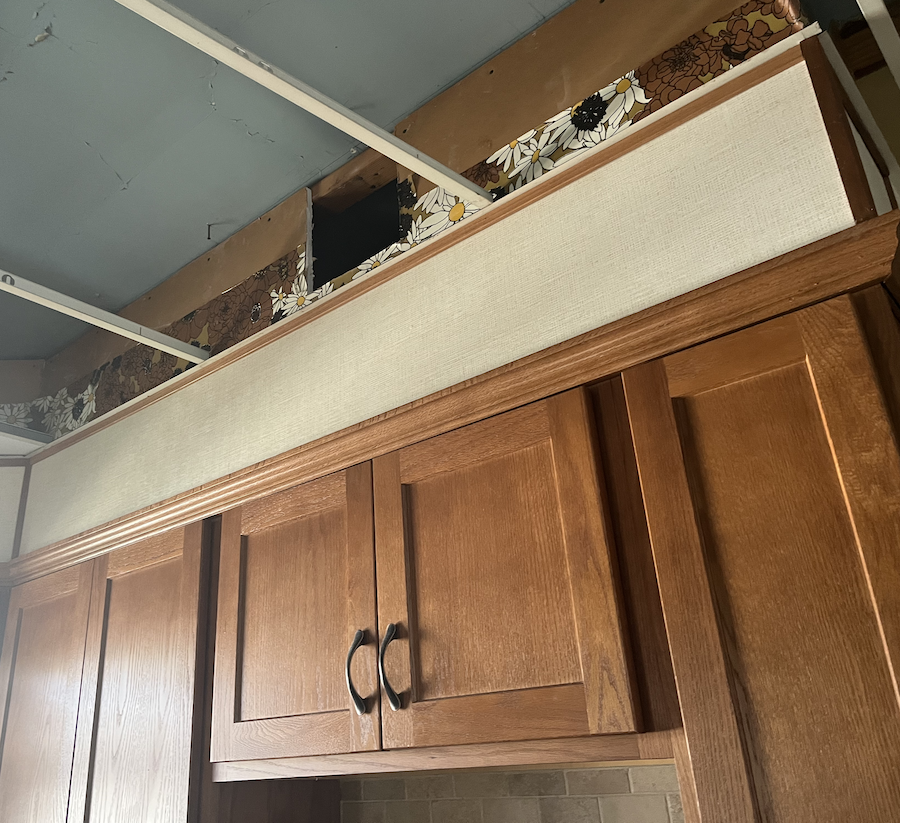
This would allow us not only a much grander kitchen feel, but a whole extra set of upper cabinets, providing far more storage in the kitchen!
Faced with the idea of going back to the original ceiling height, the plumber and framer/GC consulted about what do do with the new second-floor plumbing. It wasn't going to be able to fit entirely within the new ceiling. But they soon realized that it could be tucked into a non-obtrusive new ceiling soffit along the west wall of the kitchen.
And so the plan was hatched: Pull out all the wall paneling and the drop ceiling. Take the ceiling back to the original height by drywalling on top of the old plaster. Add cabinetry up to the new ceiling height. Paint all the cabinetry to match. Refresh the breakfast nook a touch, chiefly with a new table top. Add cabinetry in what we called "the dead corner," that place where there had been a table with the microwave and toaster on top.
Ah, sounds so simple, right?
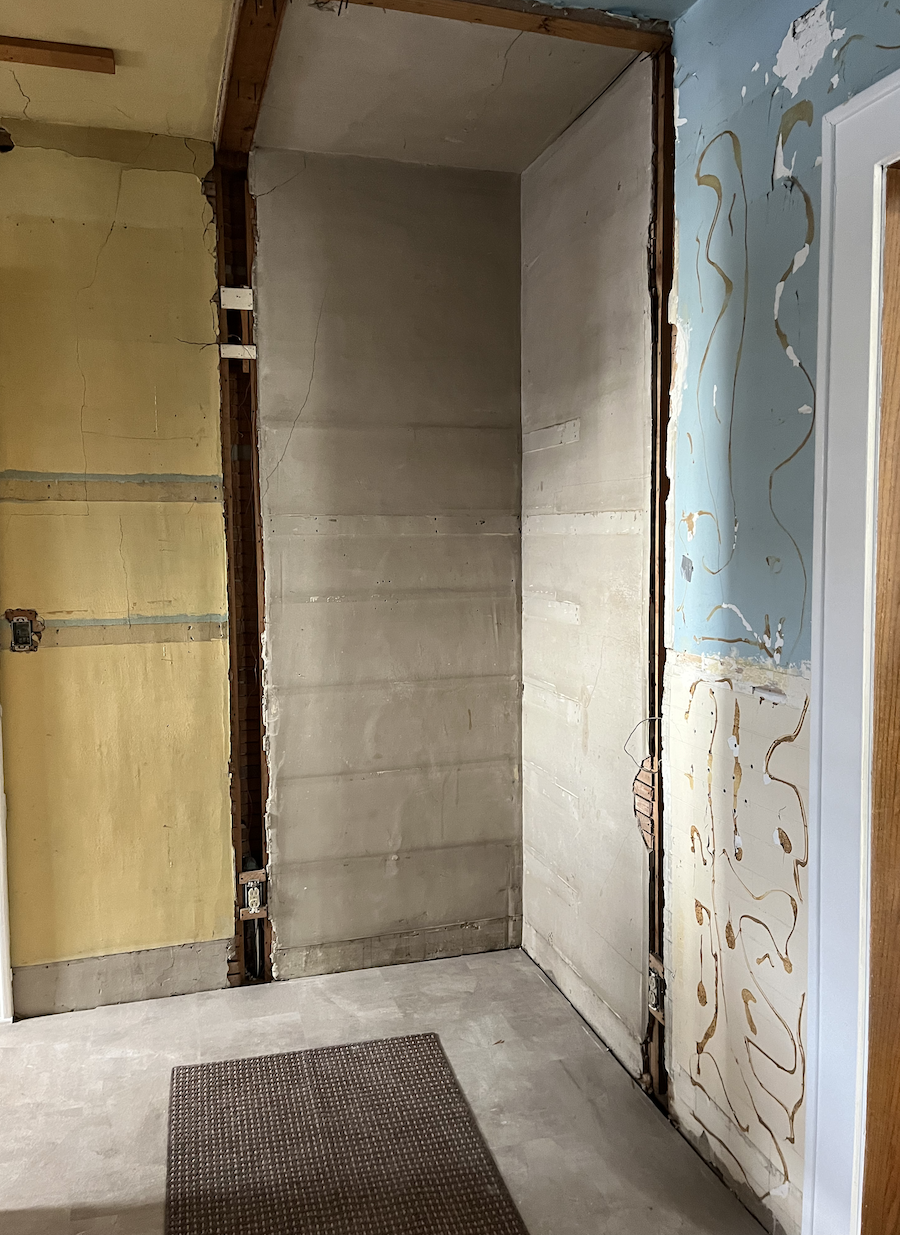
Saving money, we dutifully did the demo asked. In the next two photos, you see the "dead corner" demoed back to the plaster, the paneling removed.
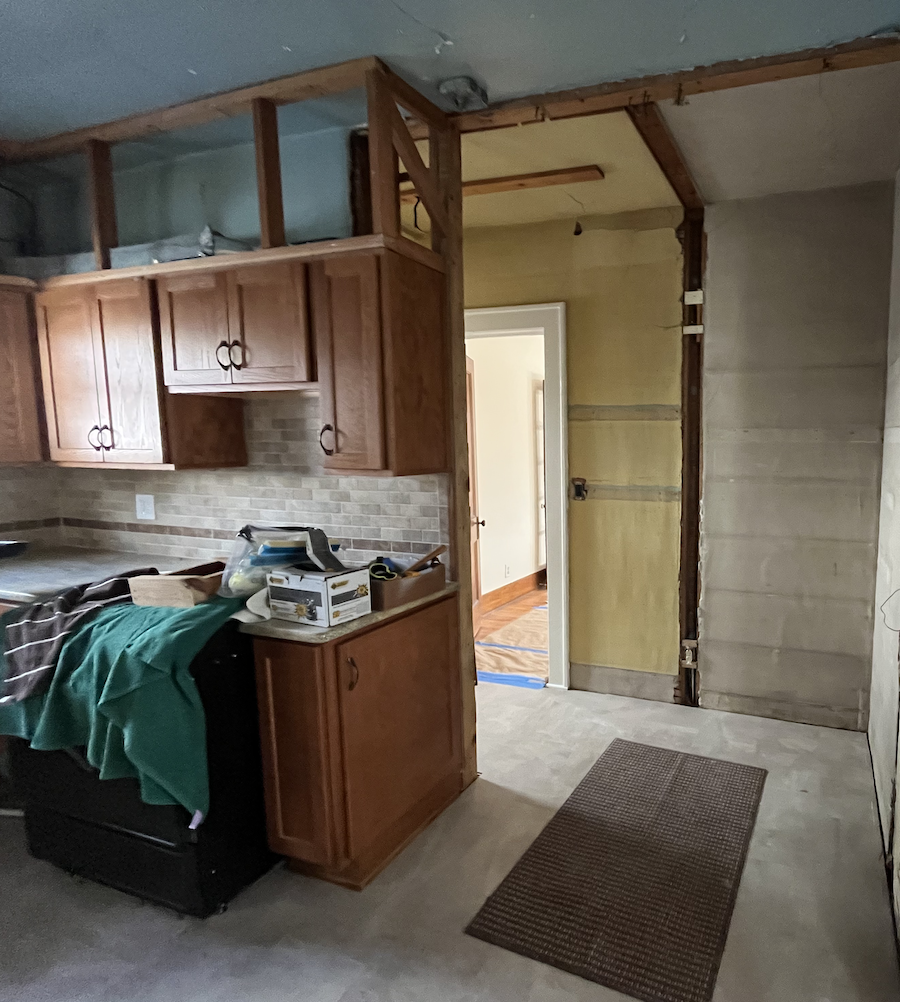
Here's the breakfast nook taken back to the point where we thought we'd stop demo:
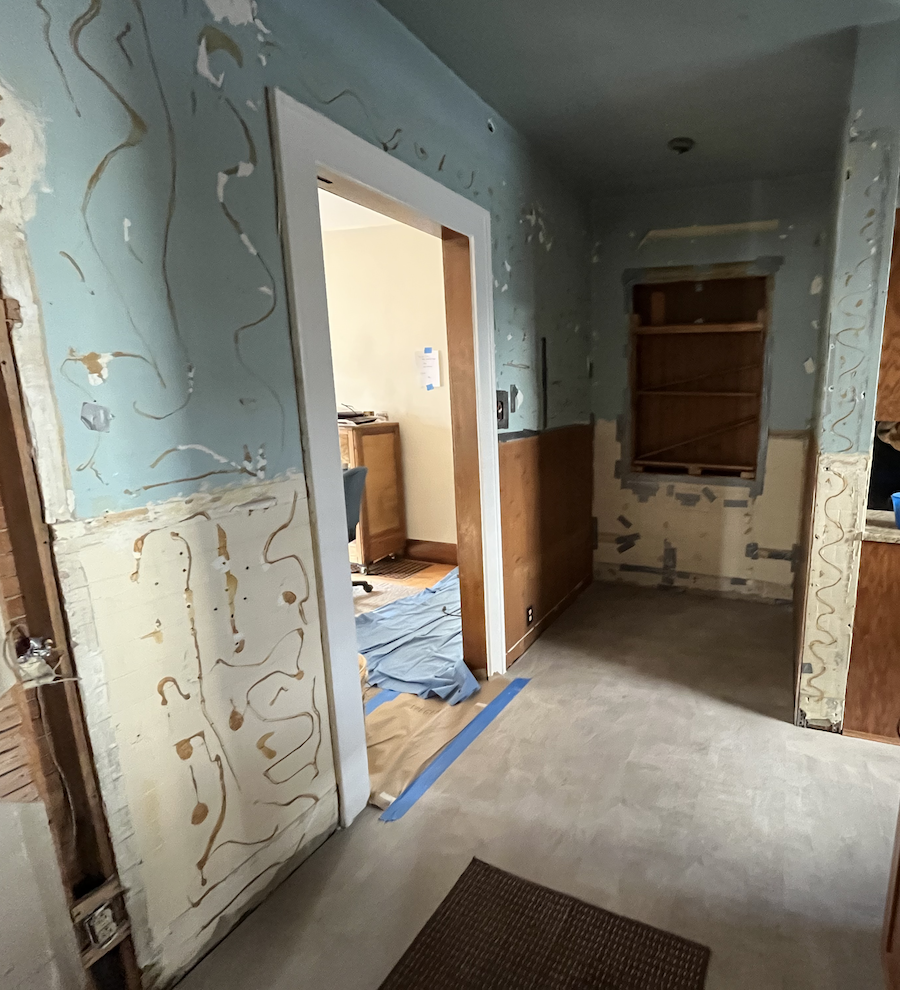
Here's looking towards the living room door at the same stage:
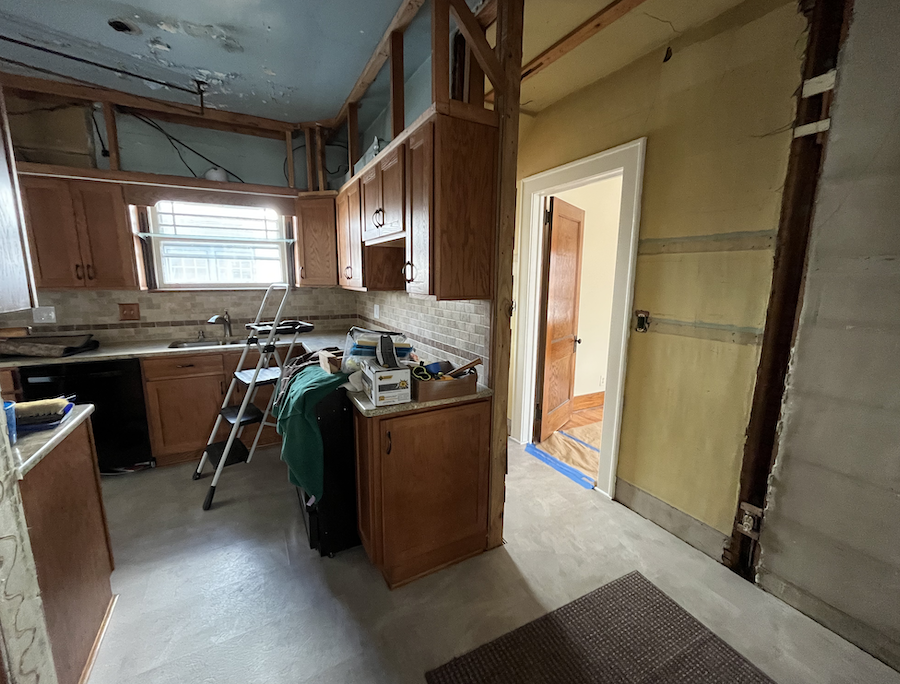
By the way, the reason the job site looks so tidy is because after we demoed to this point, I cleaned and cleaned, thinking we'd be looking at drywall installation soon.
Oh, no. The more we took down, the more the contractors said they needed us to remove more. The electricians needed better access to rewire the walls. The drywaller needed a flatter surface. The framer realized the ceiling plaster was in such bad shape, he really needed it gone completely.
Soon we had covered the granite in protective layers...
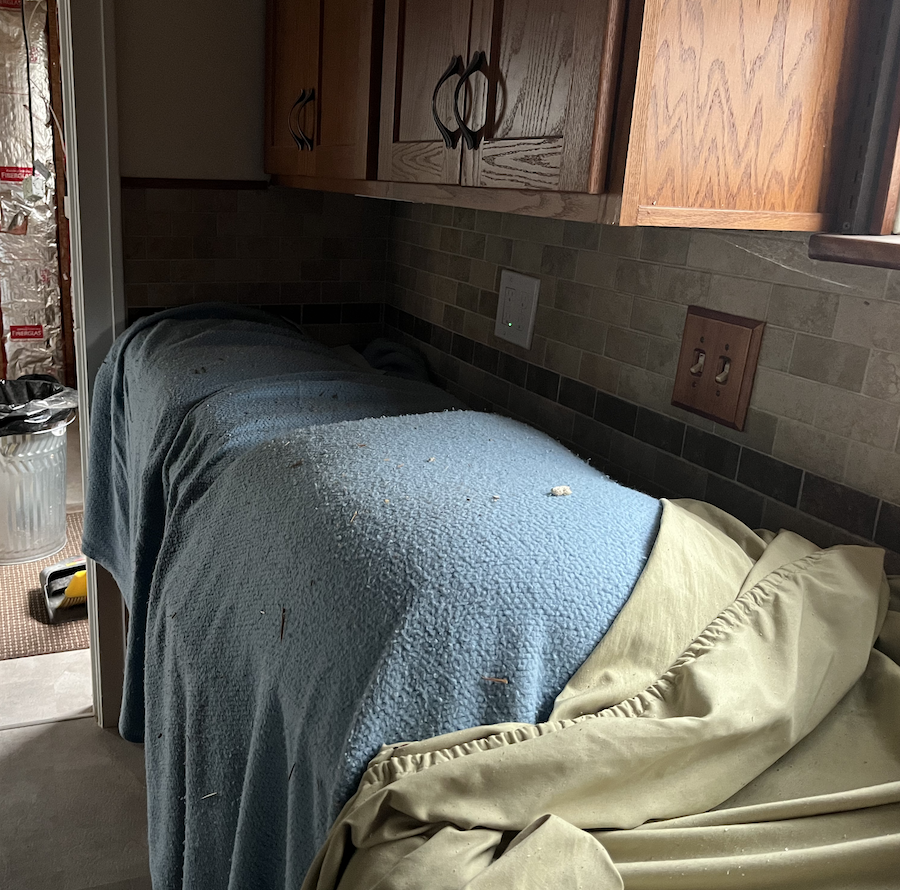
And we went at the plaster of the ceiling and walls with hammers.
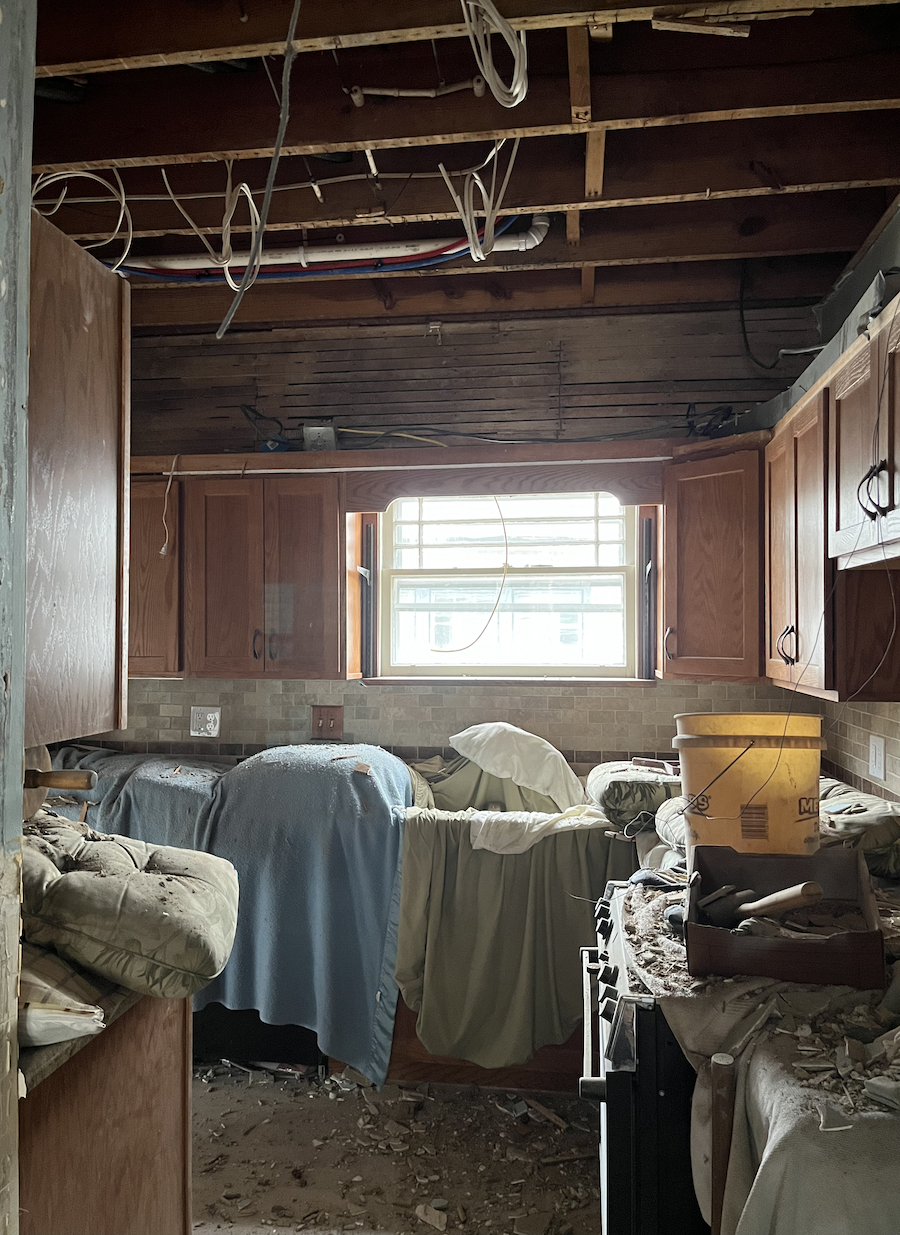
The above photo gives you a small sense of what a mess we had to make. The ceiling shows some of the new wiring and new plumbing, though—a sign of progress.
The breakfast nook also required way more demo than originally anticipated. That was because of two things: first, the drywall wasn't going to lay flat in the kitchen unless we took it all back to the lathe (wood slats); and second, the plumber needed access to the breakfast nook wall to put in a new vent pipe.
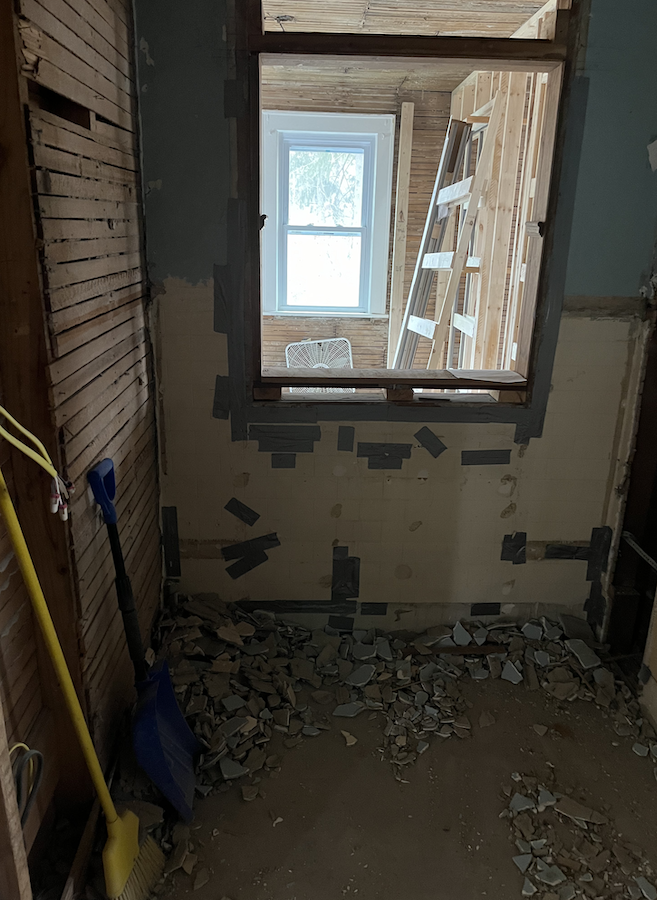
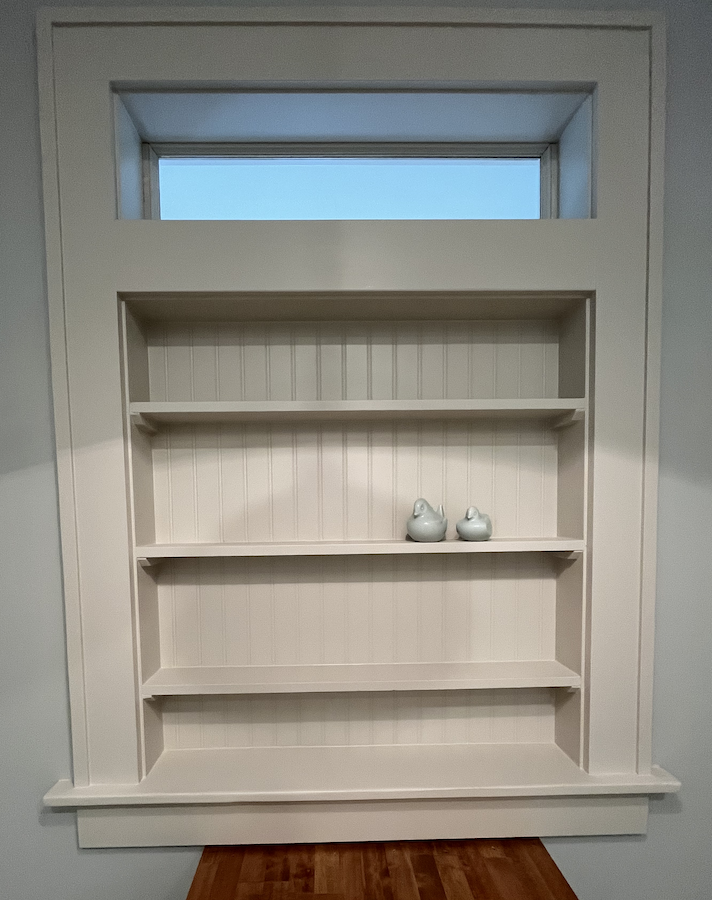
As noted in an earlier post, the demo here revealed what had once been a window! we decided to keep the upper part as a transom but to replace the existing shelf unit with a very pretty new one, custom-built.
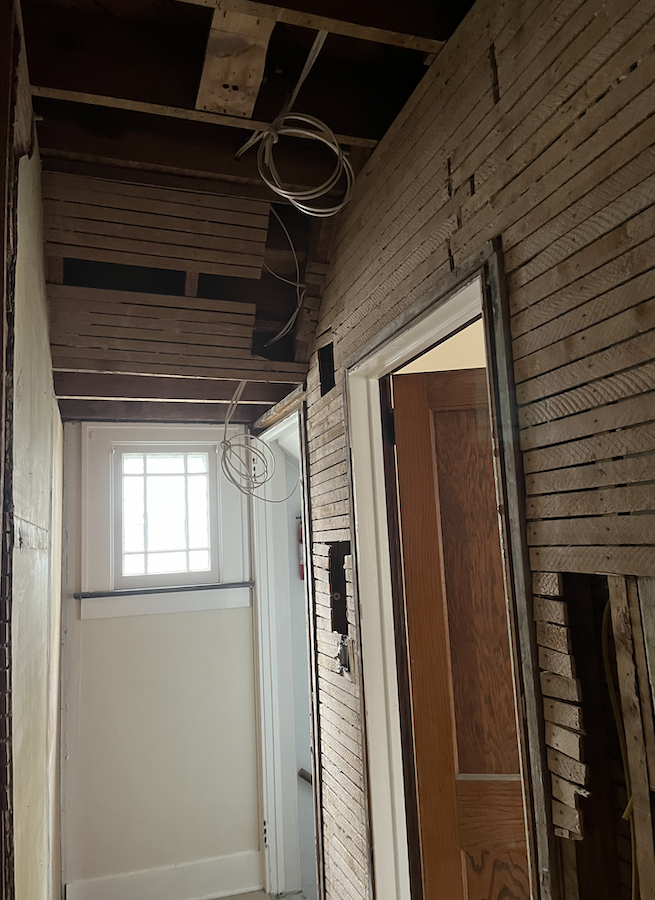
The hallway to the living rom and the basement door ended up getting demoed, too, which made the rewiring much easier.
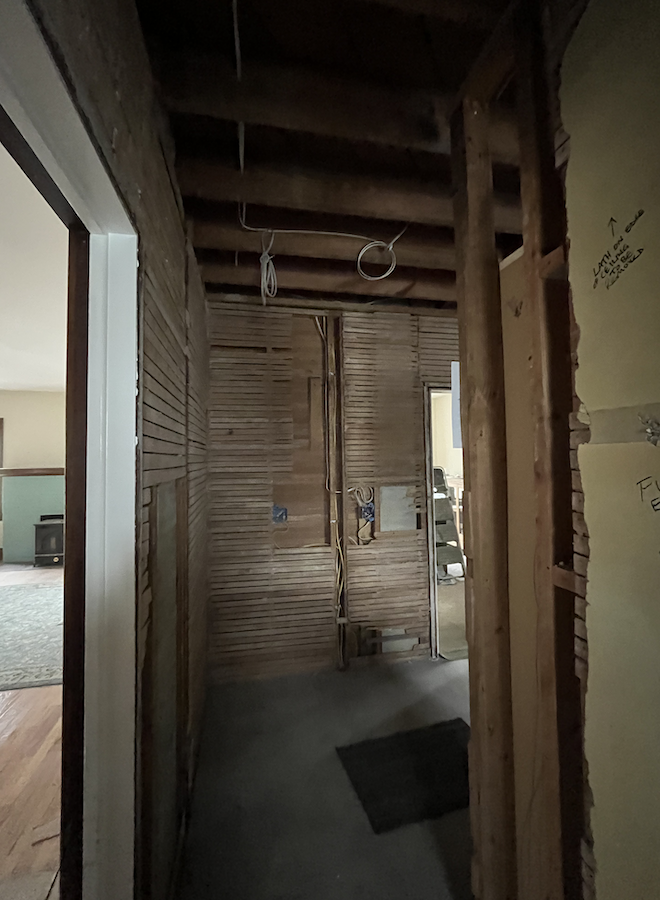
In the "dead corner," we ended up going all the way down to the lathe. On the left in this photo (below), you see the demo to the right, and to the left, a peek at the fireplace (when it was still blue) in the living room.
Then, of course, came the new drywall in the kitchen. You know, the thing we had always planned to do, although with much less prep!
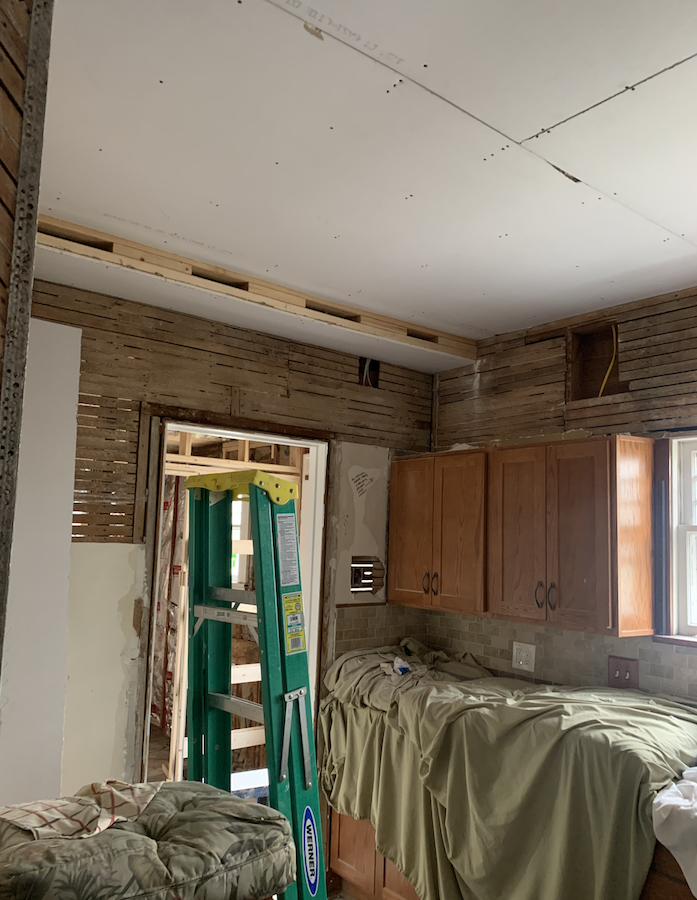
You can imagine how thrilled I was when I saw this progress! In this photo, above the ladder and upper cabinetry you can see the special new soffit built for the new second-floor bathroom plumbing. We were all so happy with how that turned out: barely noticeable.
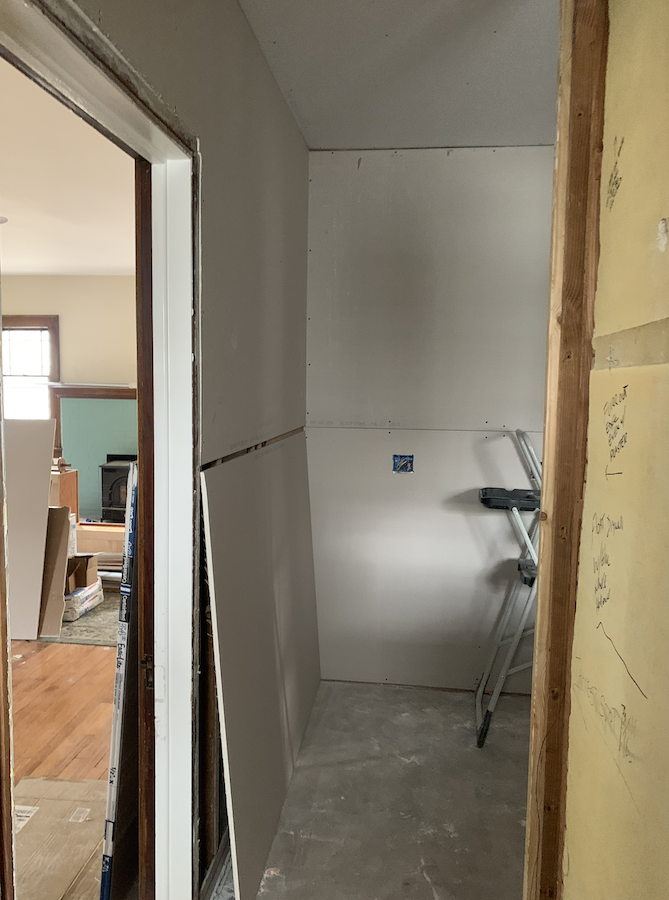
With the drywall finally being installed, everything was coming together. (We'll skip here some stories about how the electricians lost the drawings that indicated where they had put the wires for the new lights...)
When the Tennessee crew came, that's when the huge transformation of the kitchen happened in terms of the look. I don't have a lot of photos of "during" from this period because I was so busy helping—cooking for the crew, doing odd jobs, and running errands.
With Lisa now in charge, the existing cabinets were painted (professionally), as were the new cabinets that would be installed above the existing cabinetry. The flooring was replaced with new material that matched the fresh cabinetry. All sorts of small details got done, too.
The preexisting granite countertops and tile backsplash just popped with the color Lisas picked!
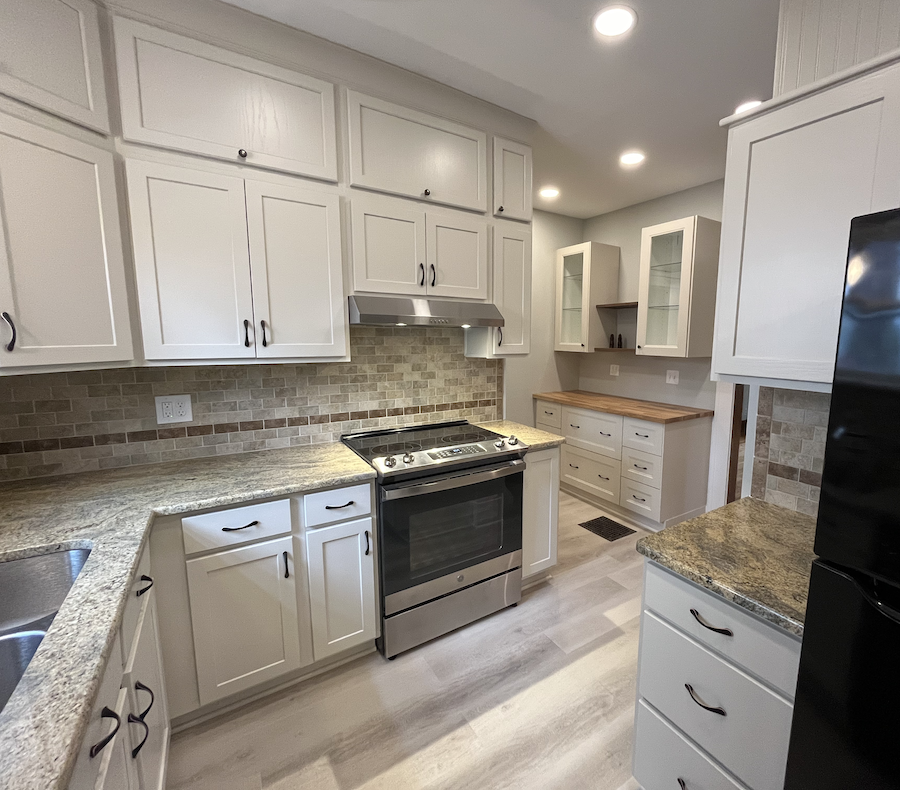
The "dead corner" came alive with new cabinetry (including a butcher-block counter) from Ikea.
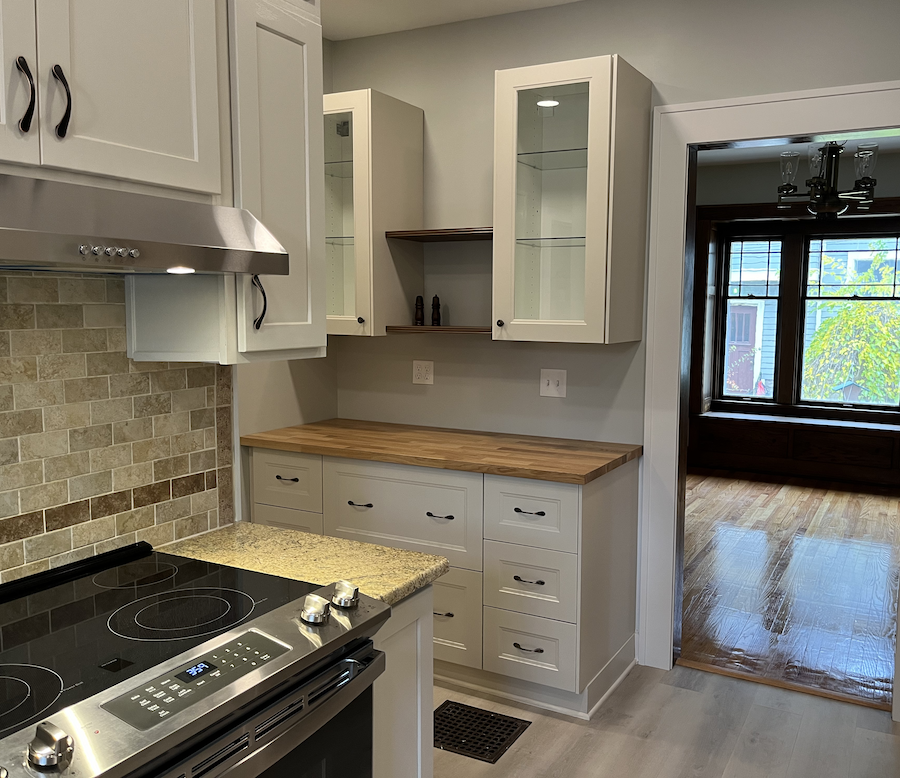
The storage space in the kitchen was doubled with all the new cabinetry.
Fresh lighting makes the kitchen feel so bright and welcoming, even at night, as shown in this photo I took last night:
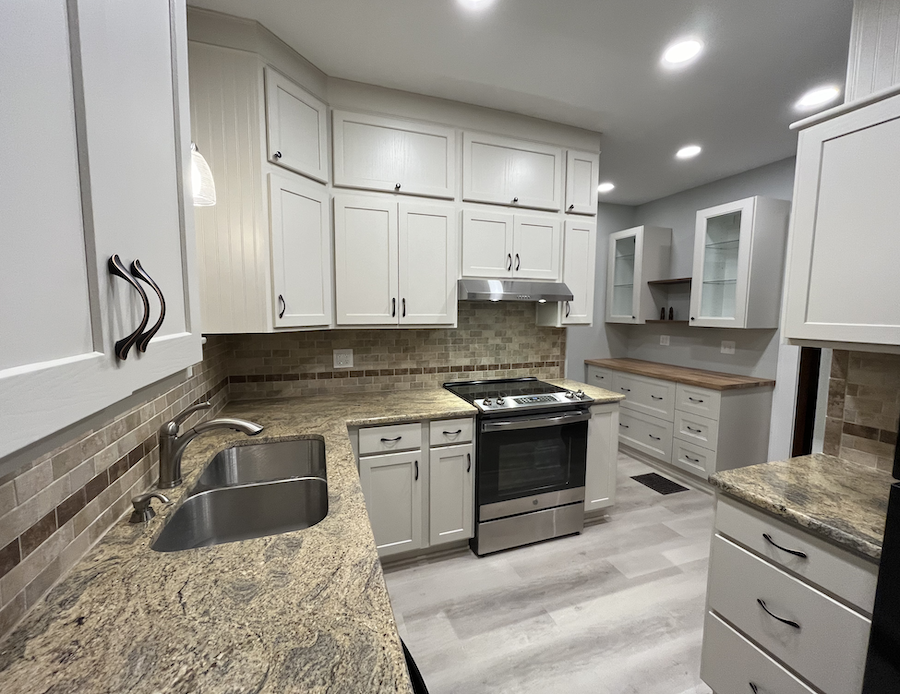
The dining nook was also rebuilt, given a new butcher block table to match the Ikea cabinetry addition.
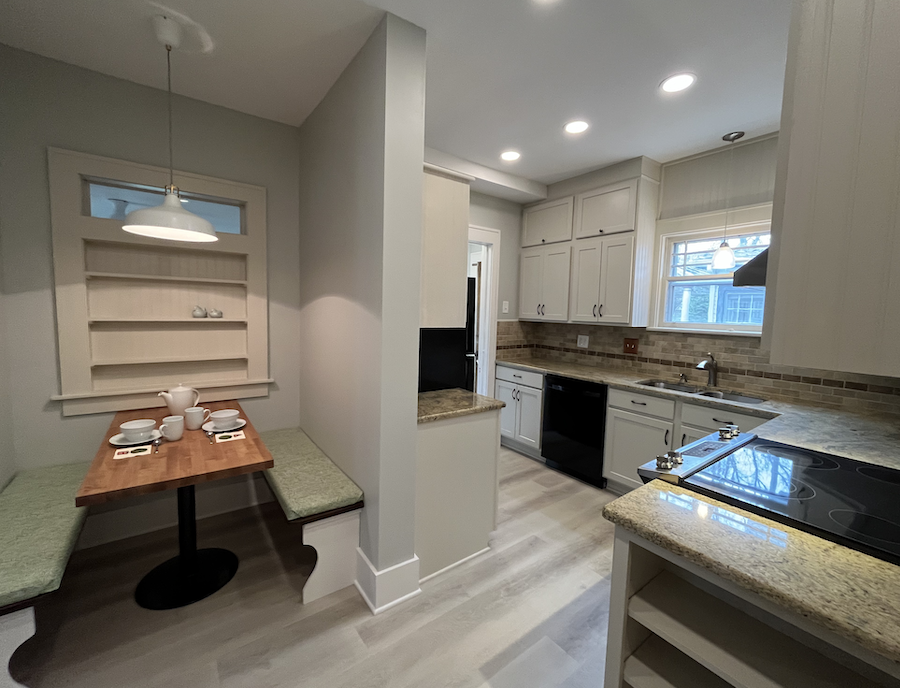
The new shelving in the nook is gorgeous—serious craftsmanship.
The hallway to the basement door is refreshed, clean, and bright.
Here's how it looks now if you stand in the living room doorway and look towards the formerly "dead" corner. To the left is the sunroom and the living room.
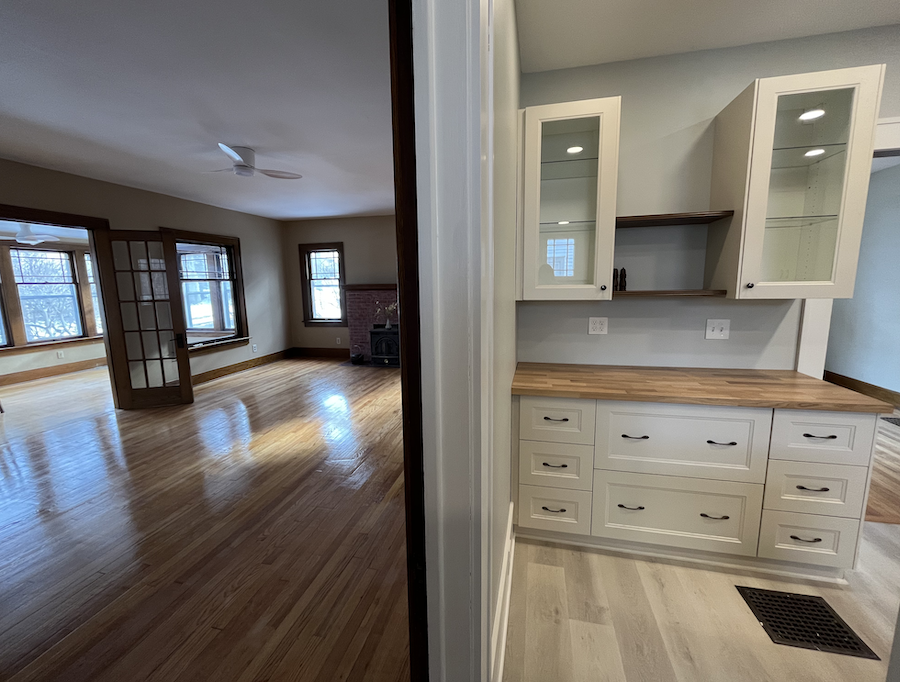
All over the kitchen are wonderful touches, like an open set of shelving for cookbooks, and breadboard trim on the ends of the upper cabinetry and above the sink:
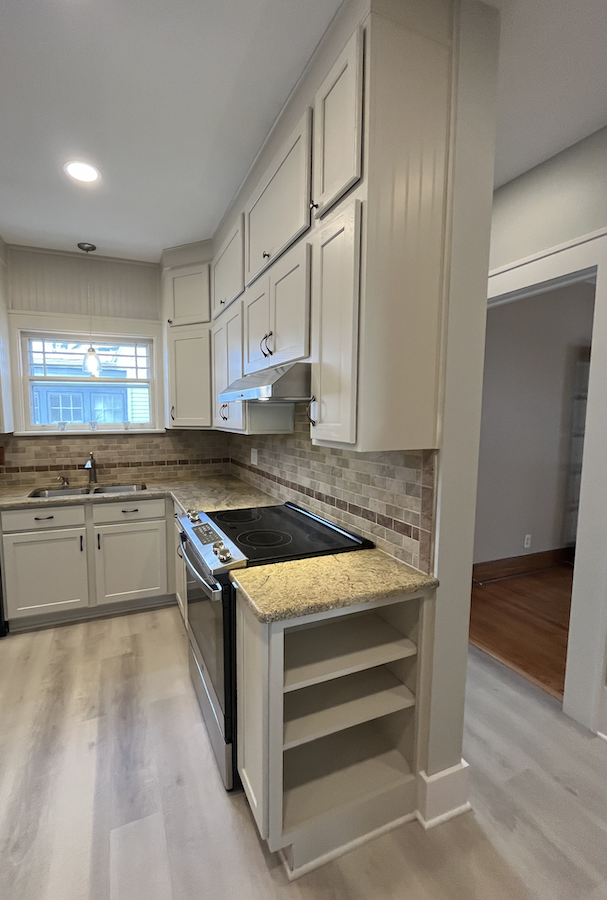
Everyone who saw the kitchen at the start exclaims "WOW!" when they see the kitchen now. I feel so great about it. A kitchen is the heart of a home, and this kitchen is grand and cozy, all at the same time. (I keep playing with the dimmer switches to change the mood.)
This kitchen is now chock full of useful workspace and storage. And that breakfast nook is just asking to be used for morning coffee, homework sessions, and cozy weeknight dinners.
I took these two photos this morning, the first of the dining room (foreground) and the second of the living room and sunroom.
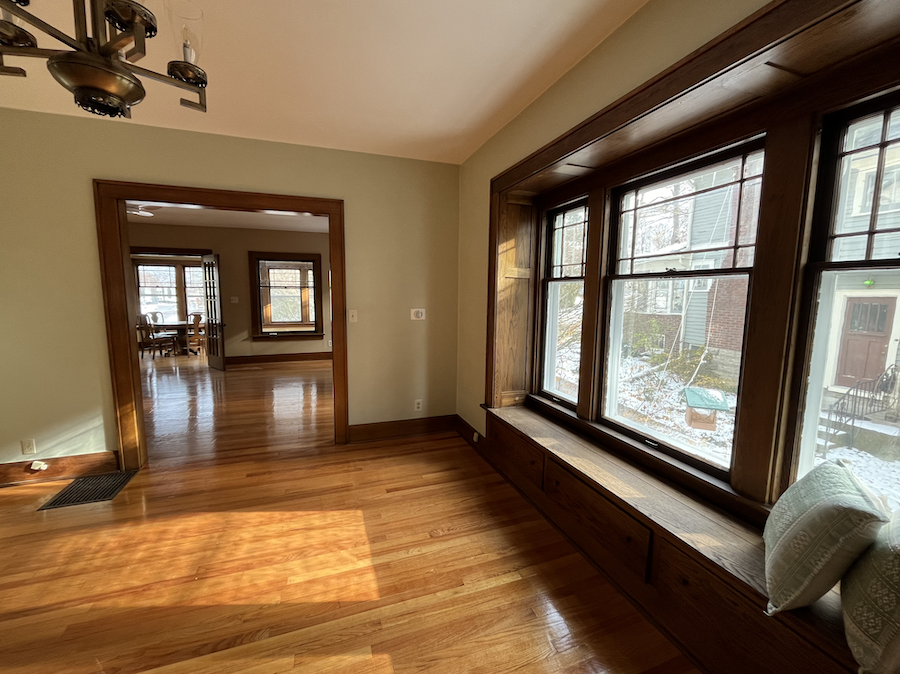
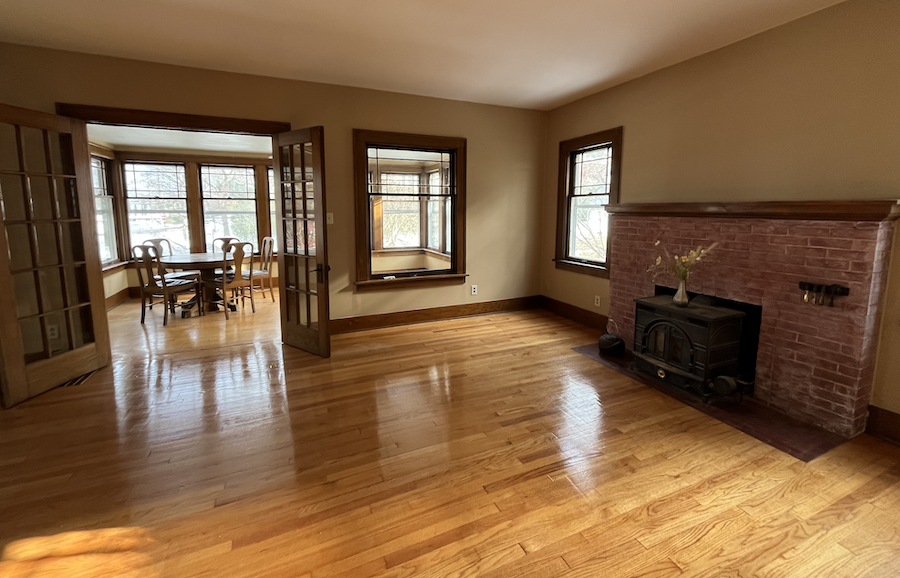
How happy it makes me to have refreshed this gorgeous old home, making it a fantastic place to live for the next several generations of inhabitants.
Learn more about the sale here, and find all the before-and-after's here.