Before (& During) & After: Part 4
Like our house next door at 621 Sunset Lane, 615 Sunset Lane is built into a hill. You go up six front steps to reach the front door, which takes you into the main ("first") floor. The driveway slopes down so that, at the back of the house, the garage is on the same level as the basement.
Well, above that garage at 615 Sunset Lane is an approximately 12' x 18' extension of the main living area that might have at one time been a porch. (I'll explain the clues about that below.) If it had once been a porch, sometime long ago it was converted to indoor living space. We know that because of the age of the bathroom that was there when we bought the house. It was old.
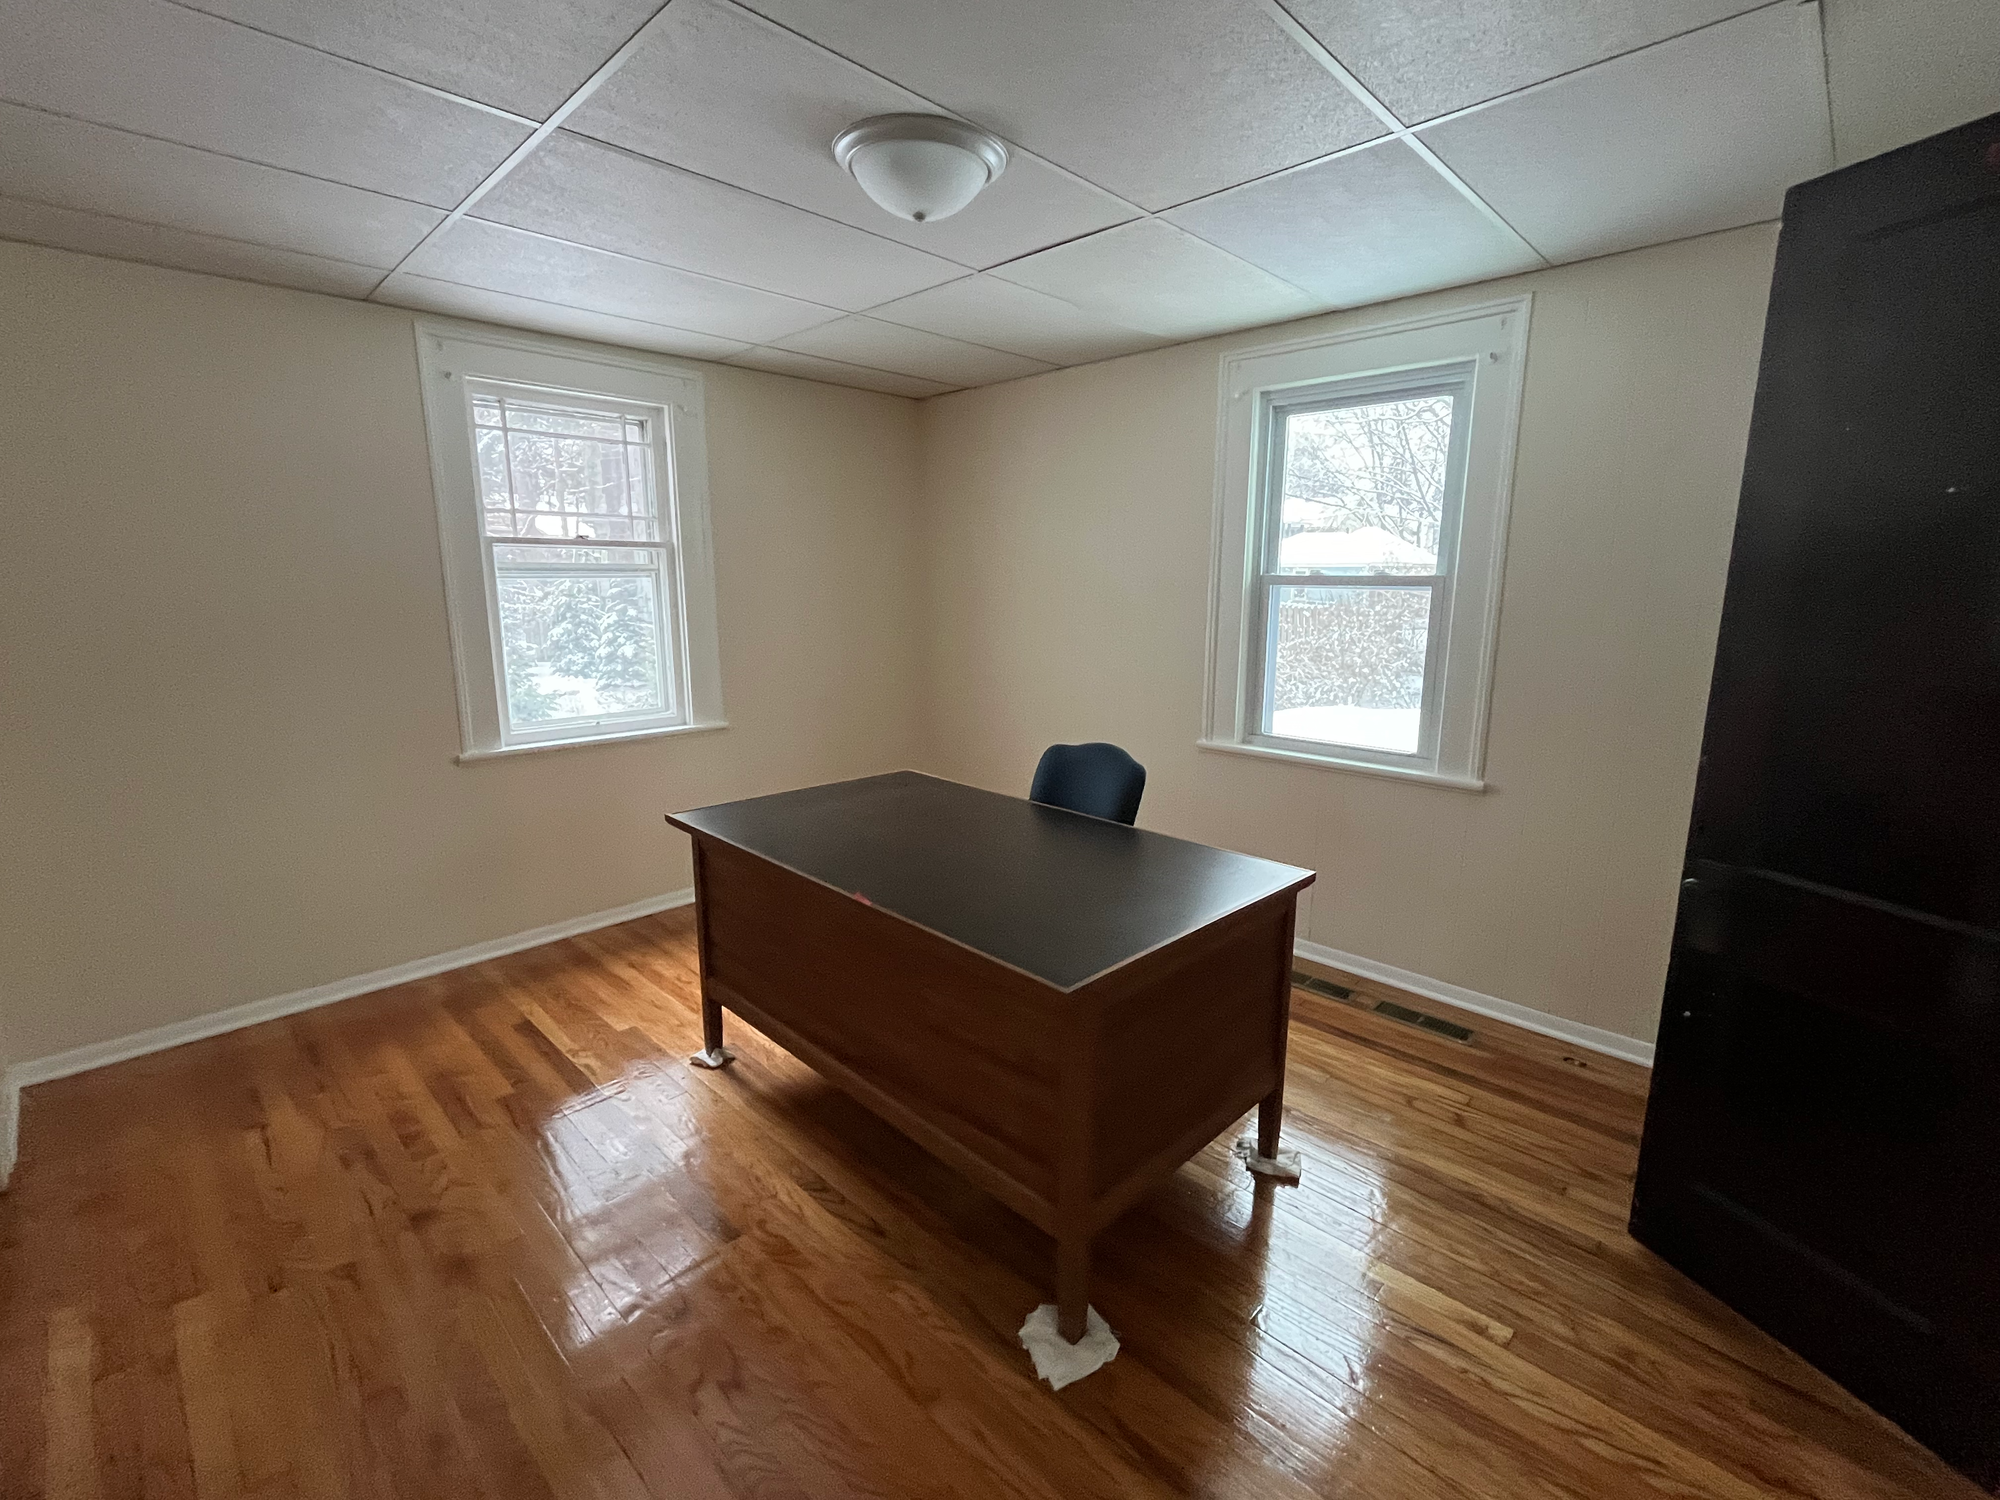
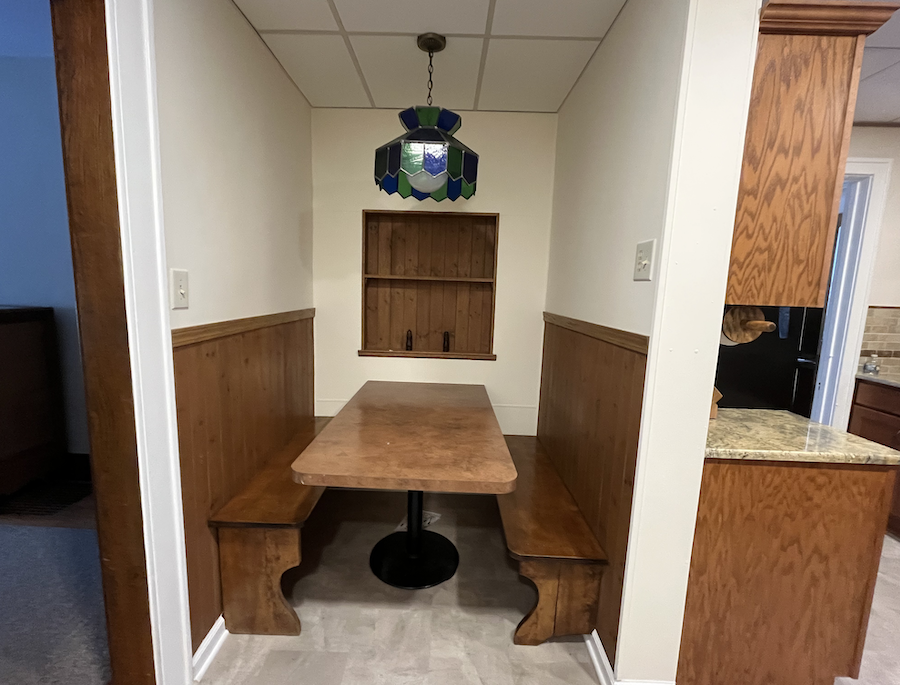
When we bought the house, off the back of the dining room was a fourth bedroom (or office, or whatever), with no closet, a drop ceiling with styrofoam tiles, and thickly-painted "paneled" walls. (The panelling here, as in the kitchen, was that faux-1970s style pressboard stuff.) .
To the side of that bedroom/office, off the back of the kitchen, was a vestibule with a pantry. That vestibule led to a half-bathroom.
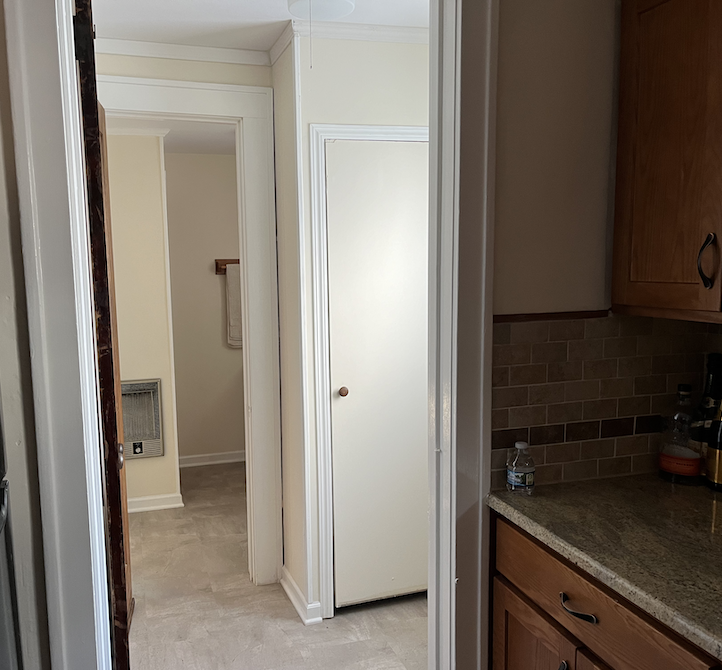
The vestibule was a basically a tiny space with four doors. There was a windowed door from the kitchen to the vestibule, a wood door from the vestibule to the bathroom, a wood exterior side door, and a doored pantry.
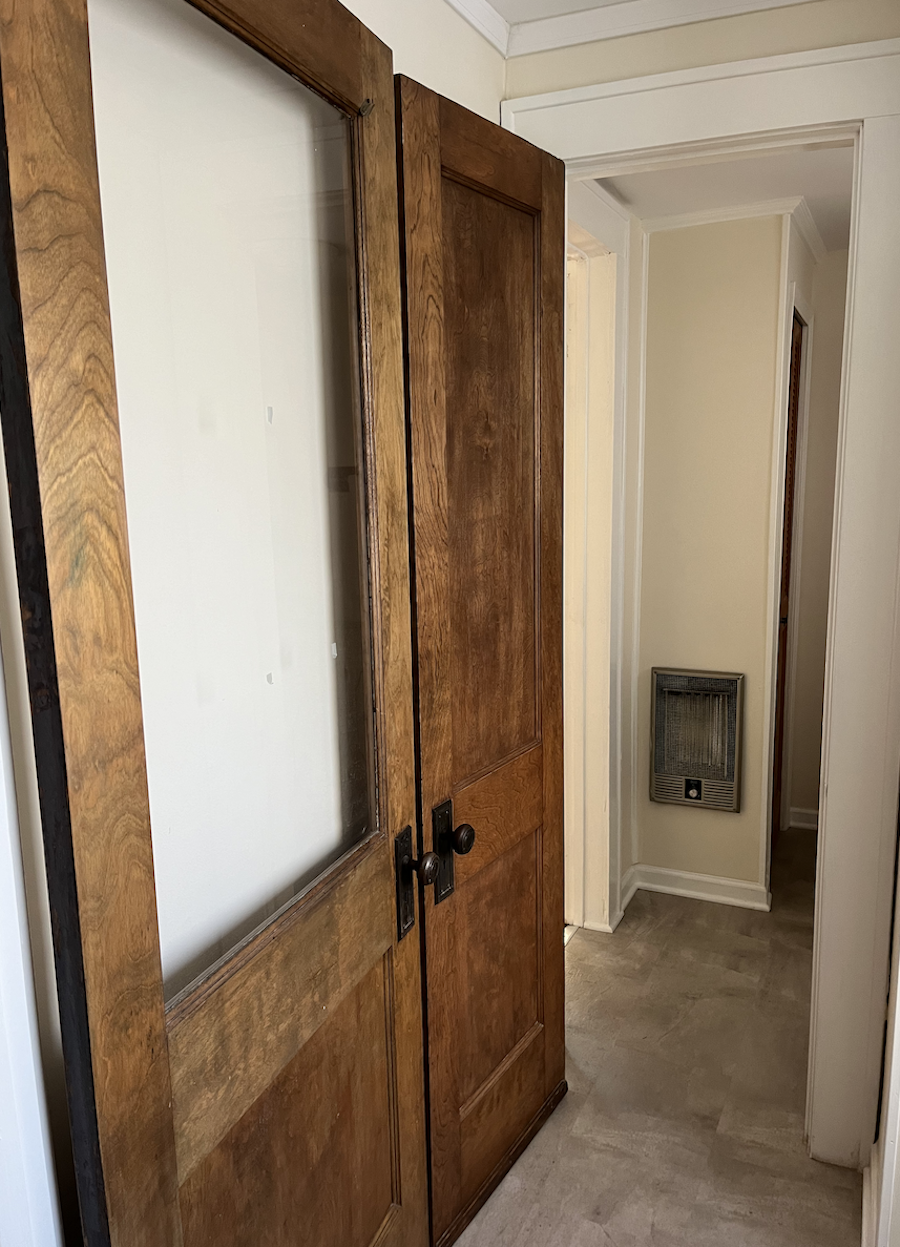
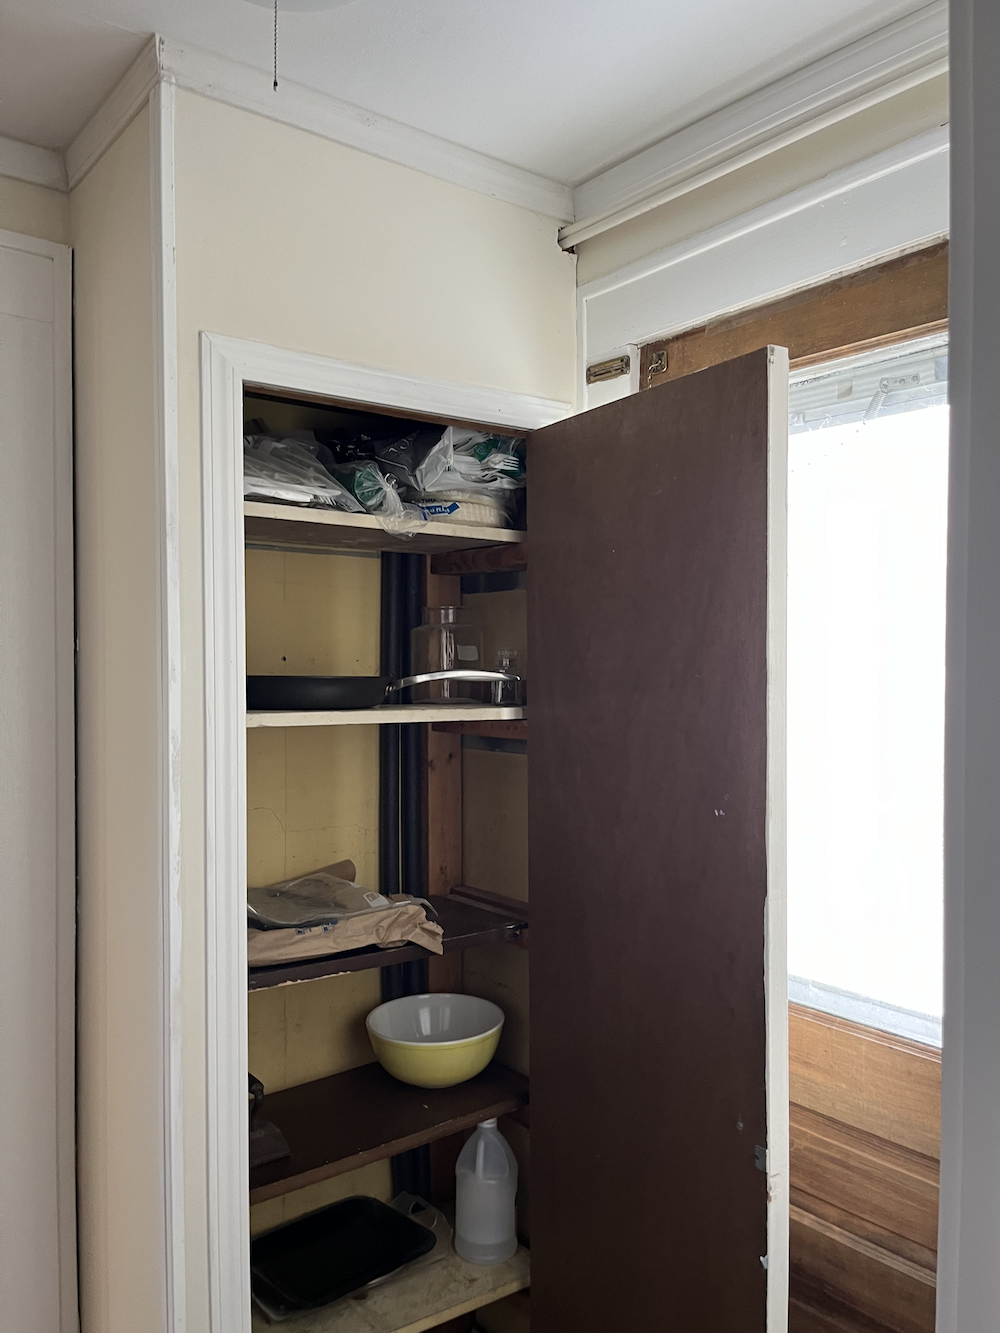
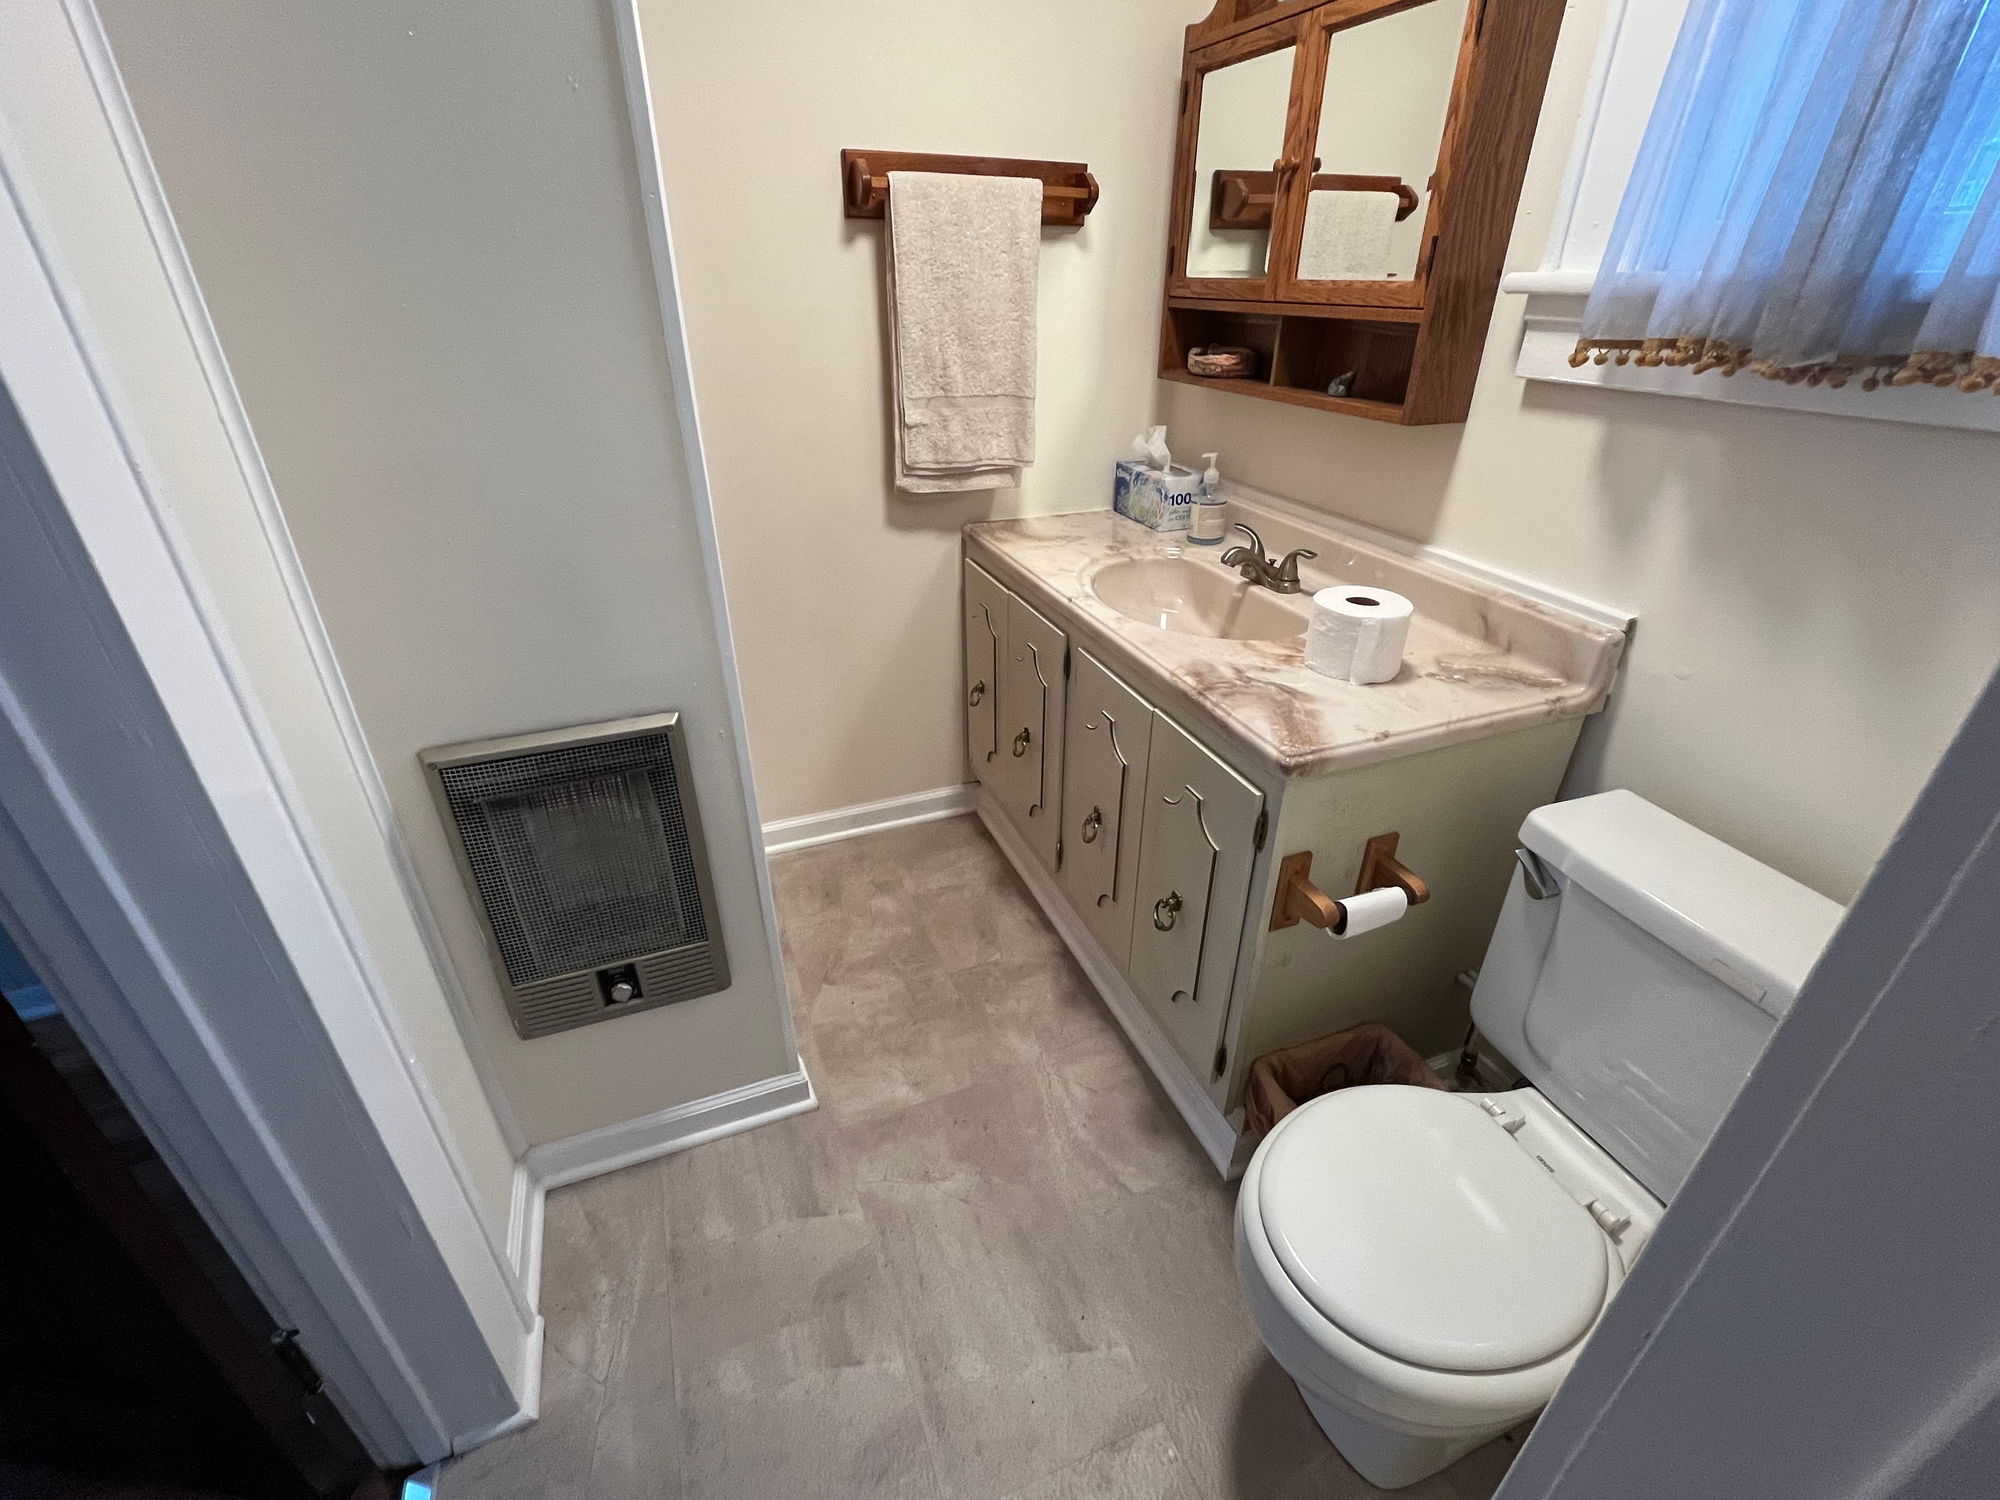
As I've mentioned, the half-bath on the main level was in rough shape.
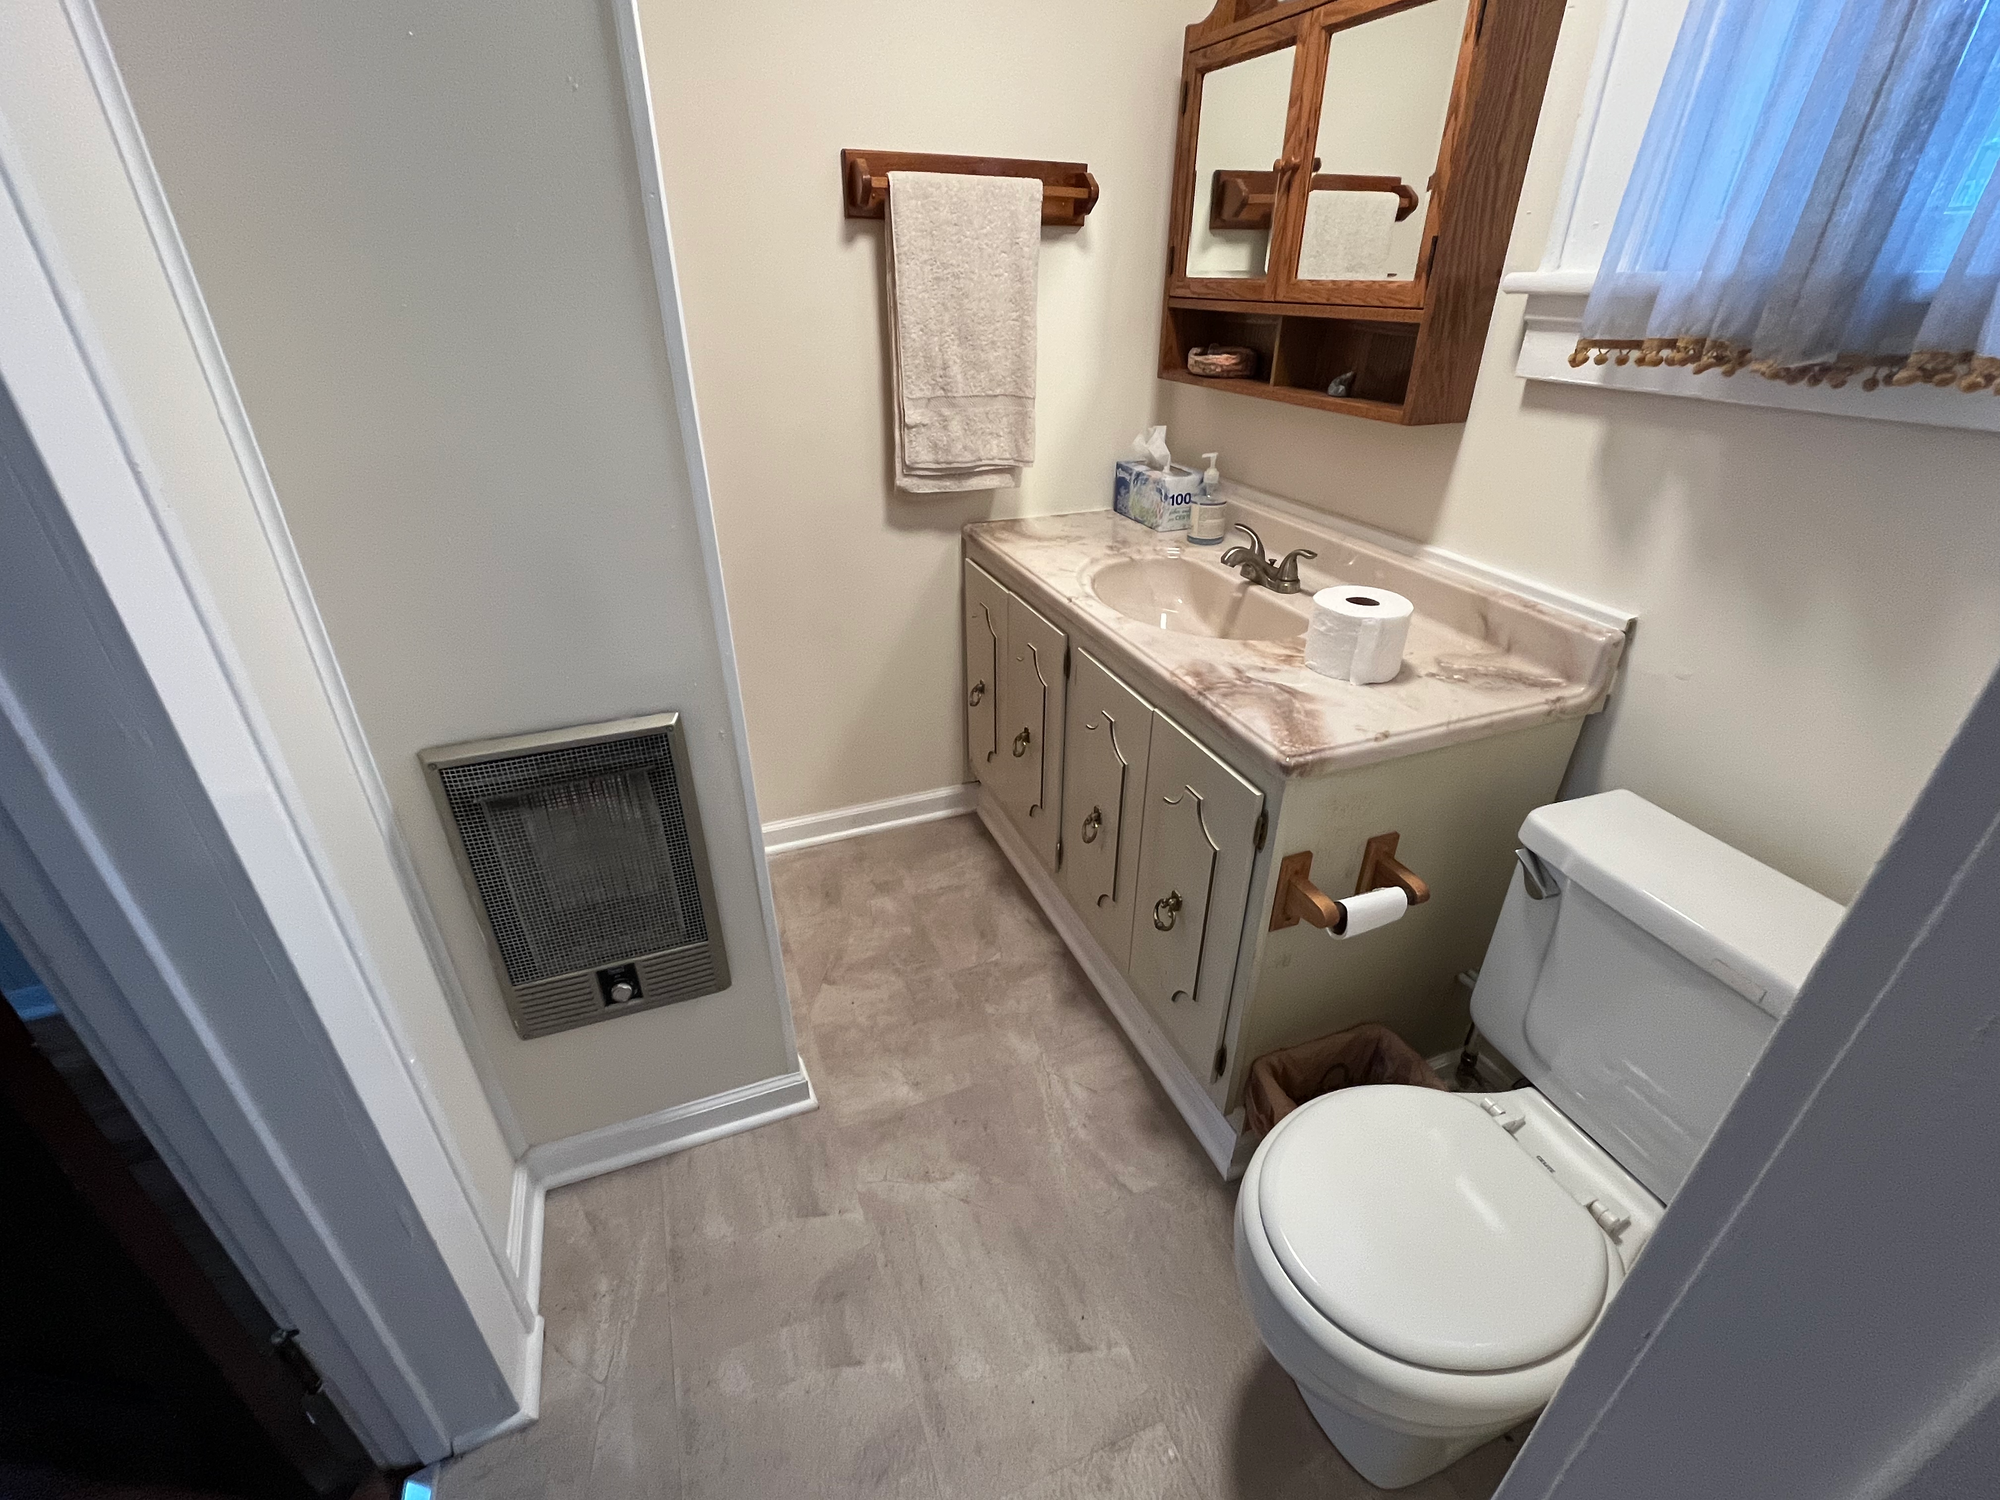
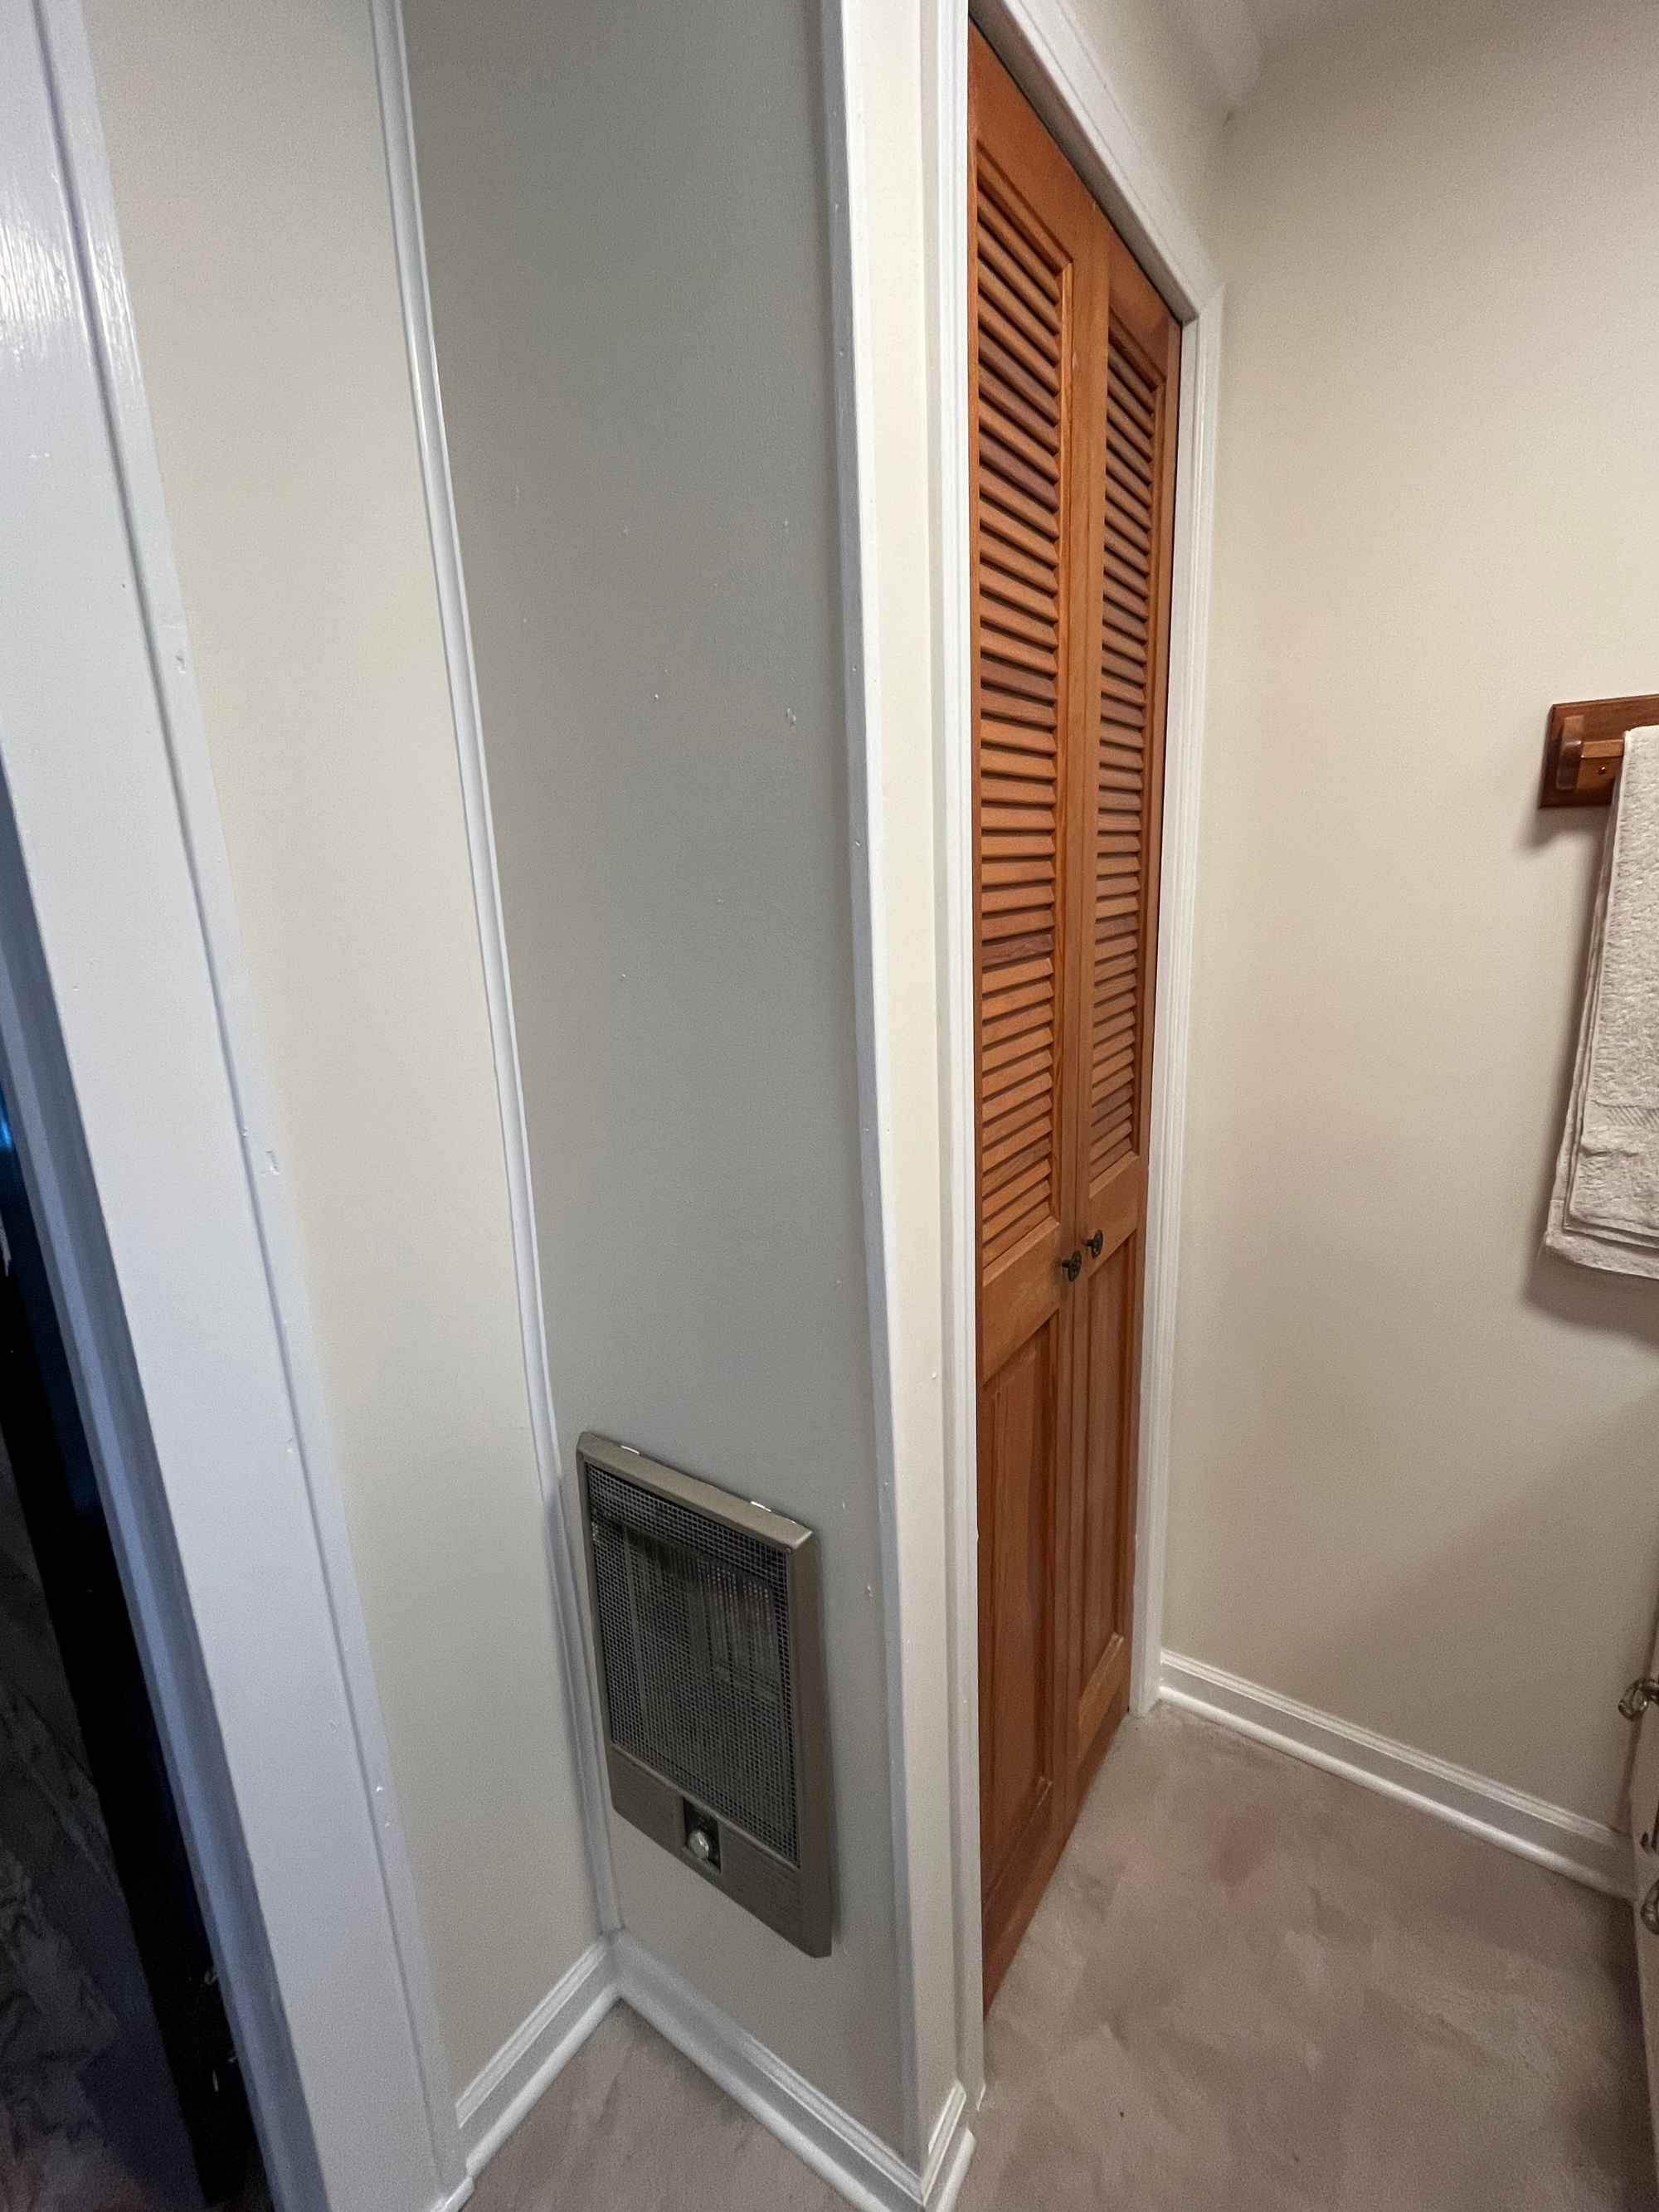
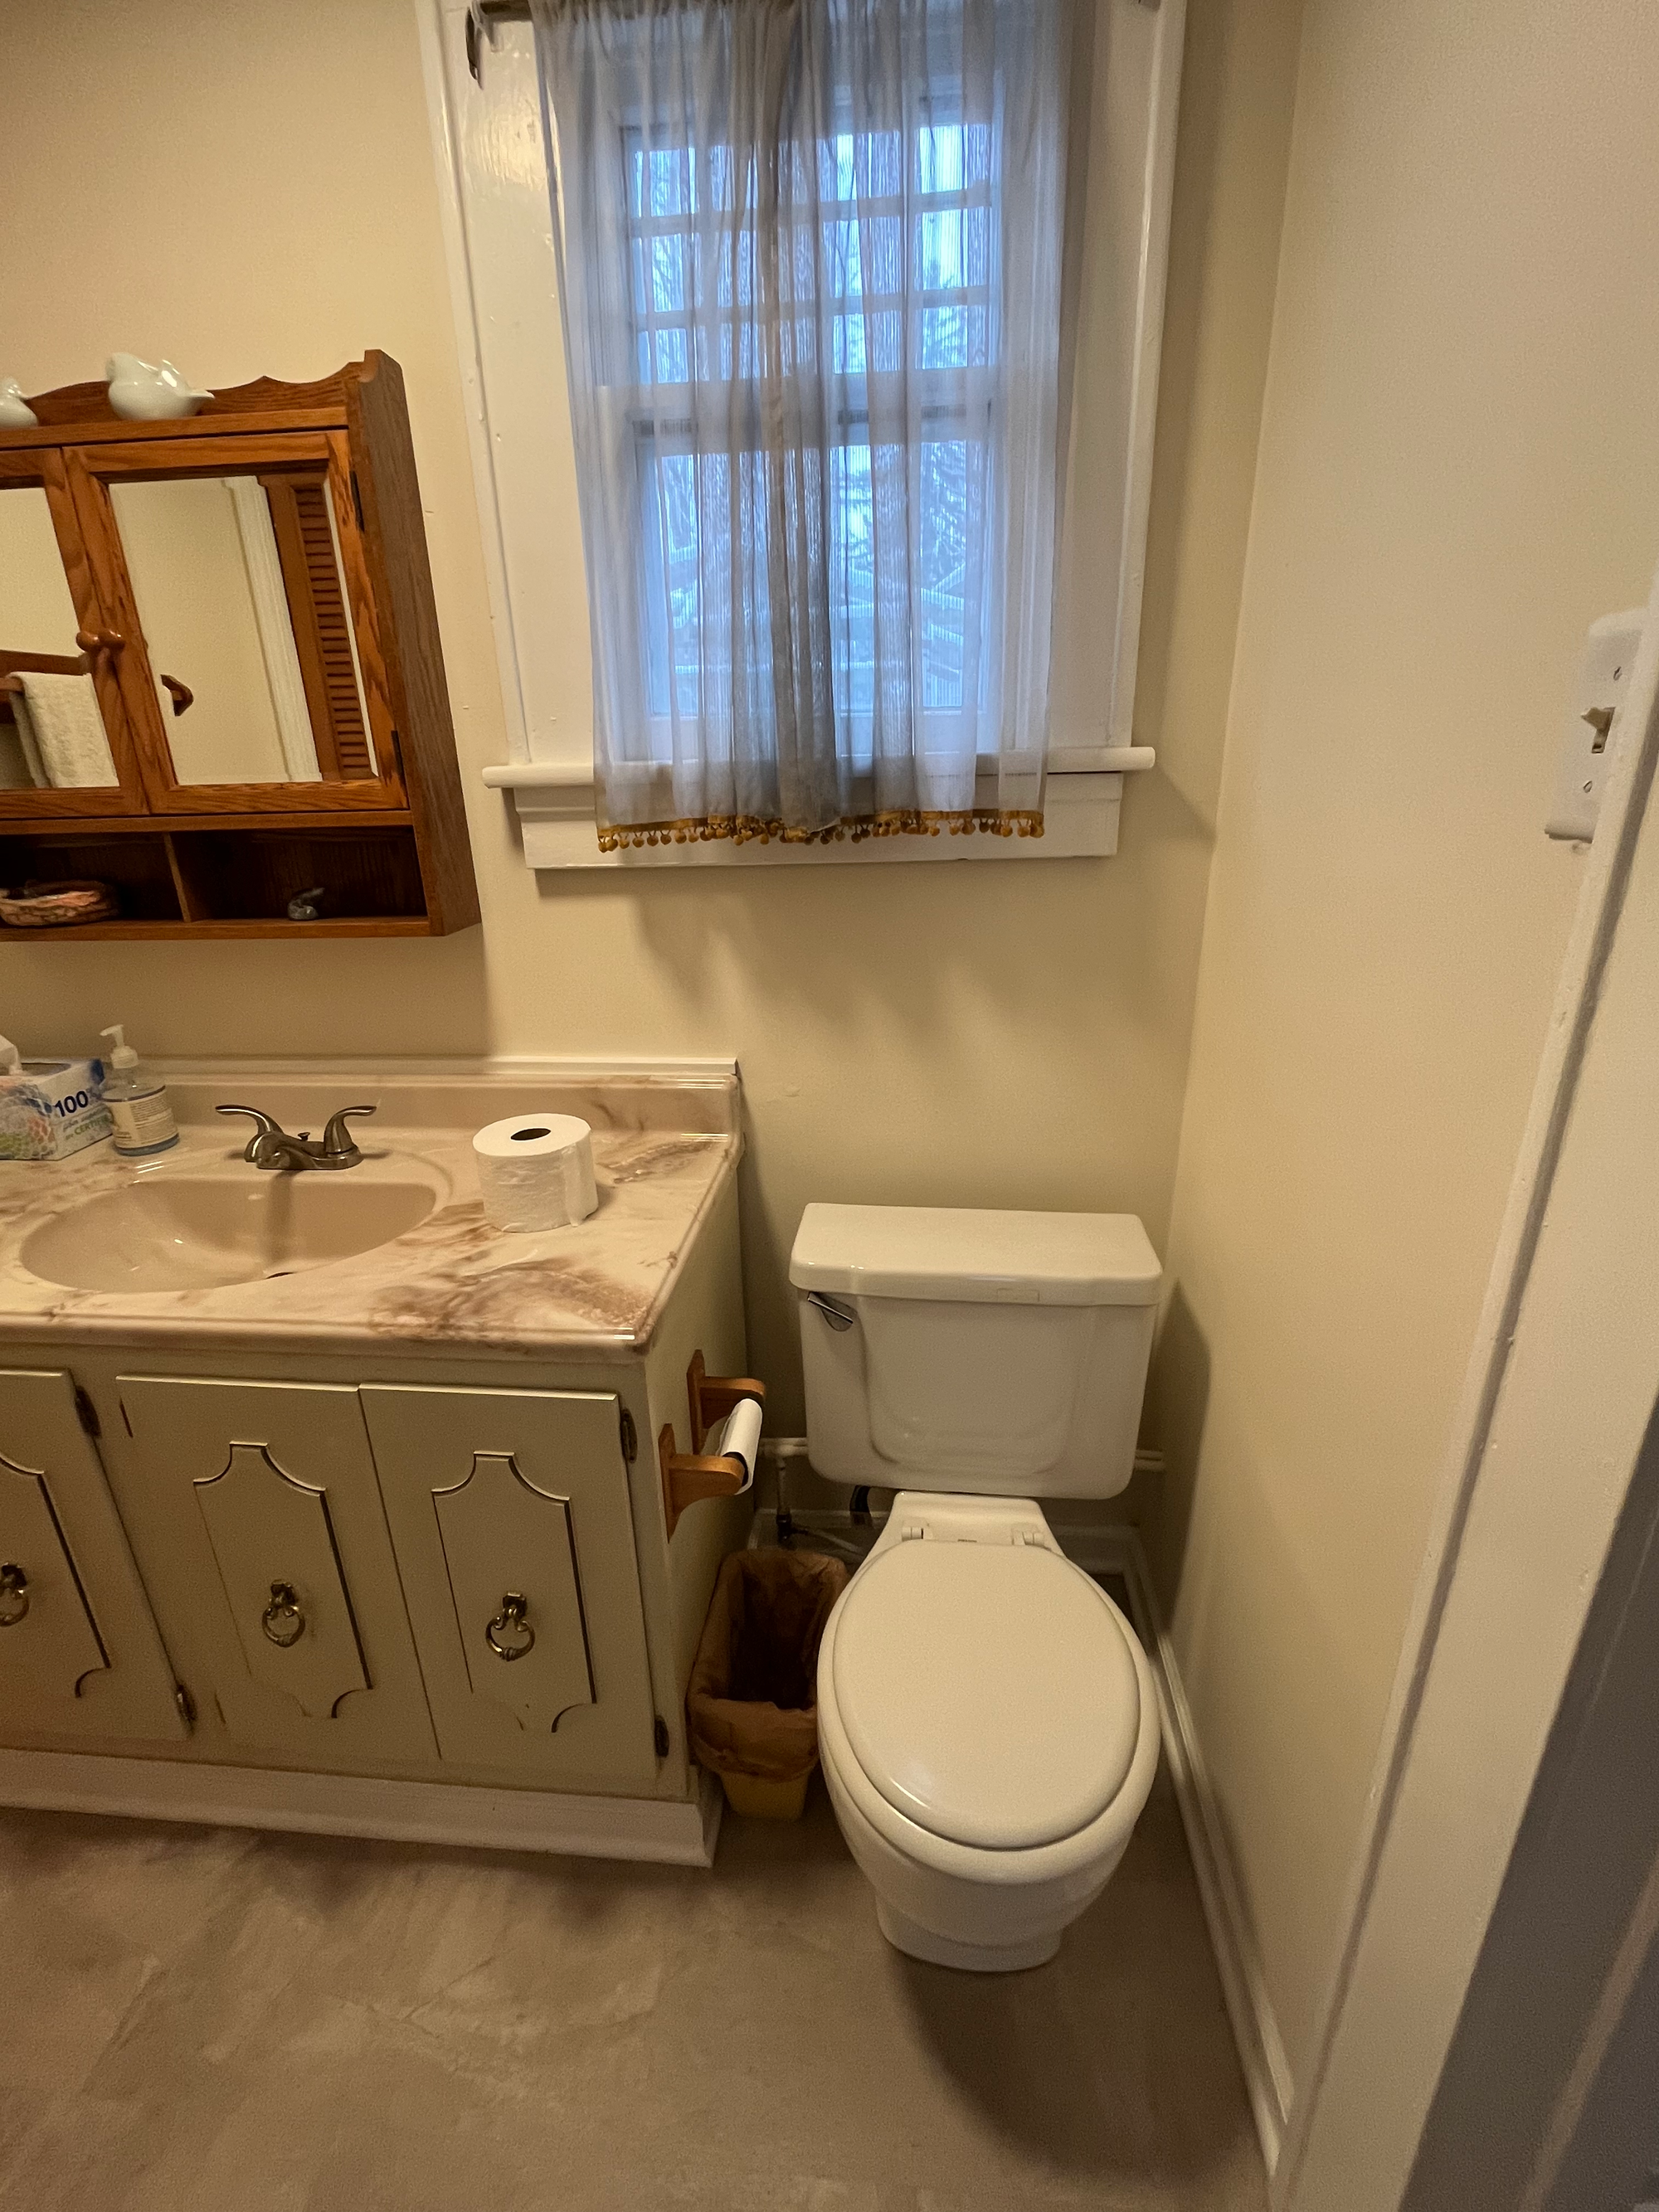
Of greater concern than the aesthetics was the infrastructure. The bathroom had no connection to the central HVAC of the house, which meant the only heat it was getting was when that wall heater (which was pretty scary) was turned on. The plumbing was run through the kitchen ceiling into the vestibule and into the bathroom, except of course for the toilet waste pipe which ran through the garage.
The plumber told me there was no way to run new plumbing the same way and not have it freeze, as this bathroom had presumably done. (I had a recollection this room was sometimes closed off by the prior owners in winter!)
So, we were going to have to figure something out.
Long story short, my genius designer-friend Lisa came up with a whole new design for this extension. It involved moving the wall between the bedroom and bathroom so that we could gain a couple of feet to dedicate to the bathroom, allowing us to create a full bathroom. The passage from the bedroom to bathroom would be shifted to go through the vestibule, allowing us to put a shower on the wall between the bathroom and bedroom. That would also give us room to add a small closet in the bedroom/office.
But what about the plumbing?
After a lot of consideration, the framer came up with the idea of creating a heated chamber underneath the bathroom, in the garage ceiling. This would allow us to provide proper heat and insulation to the plumbing, keeping it safe from Michigan winters. The new chamber would also allow us to run a new, proper HVAC vent to the bathroom. Just to be sure the space stayed toasty, we would give the new tile floor heat, so it could be turned on to a toasty warm temperature in winter.
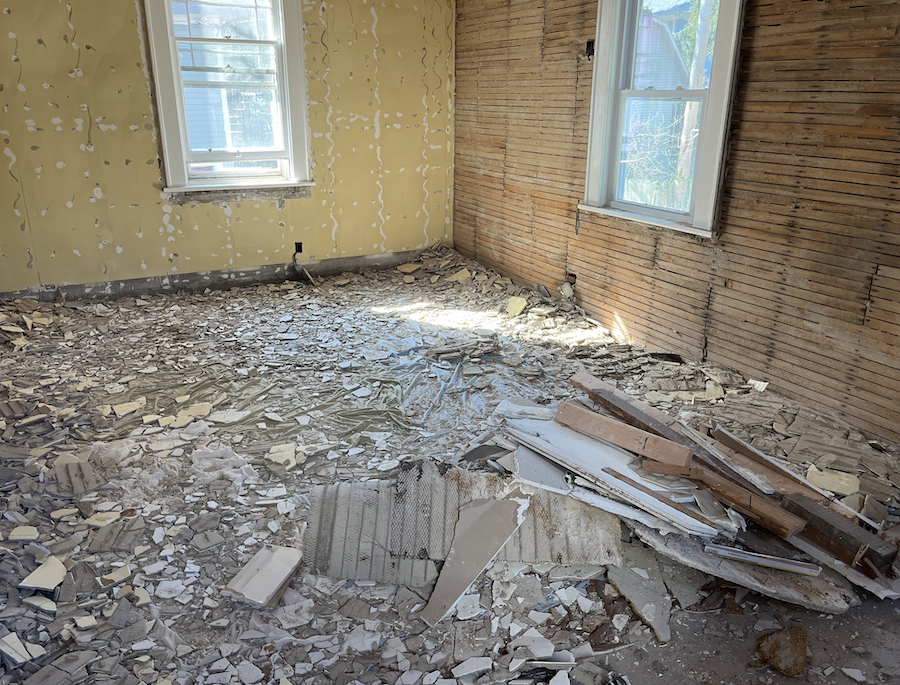
First came the demo.
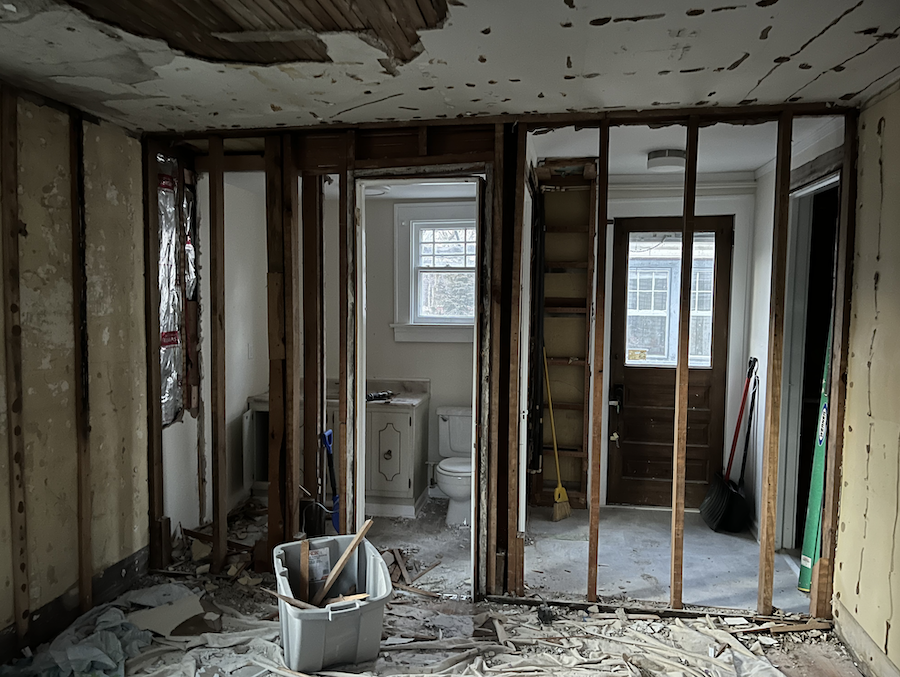
The amount of work to do this demo was tremendous and made possible by kind friends contributing to the sweat equity. (When we sell, I owe them some nice bottles of something.)
We had to pull out not just the drop ceiling and tiles but all that paneling and the interior wall.
Throughout, we were determined to preserve the nice wood flooring in the bedroom/office, so we kept covering it and cleaning it, over and over, as we demoed.
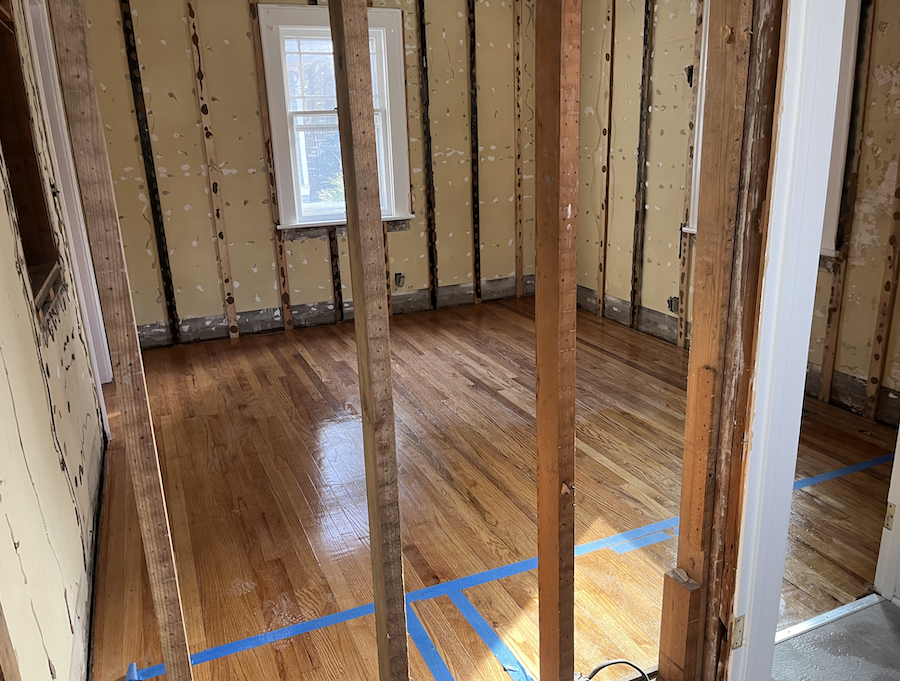
Once the framer, who is a general contractor (and whom I'm happy to recommend), confirmed that the interior wall was not load-bearing, he gave us the go-ahead to take that out, too.
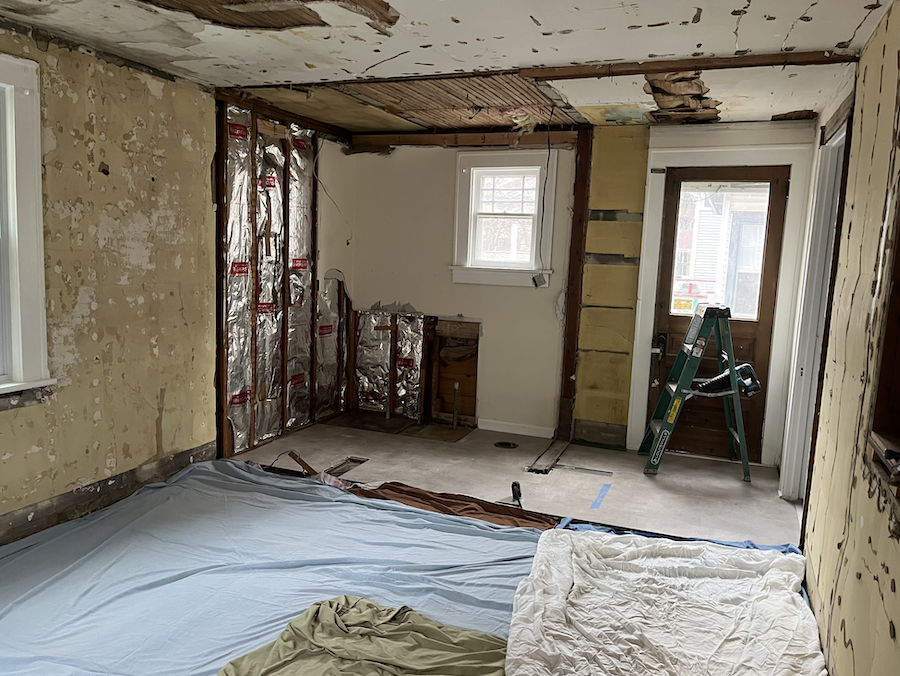
We thought at this point the demo was finished in the back bedroom/office. But then the drywalled told us we had to take down the plaster in several sections of the room, or he couldn't get the drywall installed properly with respect to the windows.
So, knowing from doing the kitchen demo what plaster demo does to a floor, we put down tons of floor protection—old rugs covered by tarps covered by sheets.
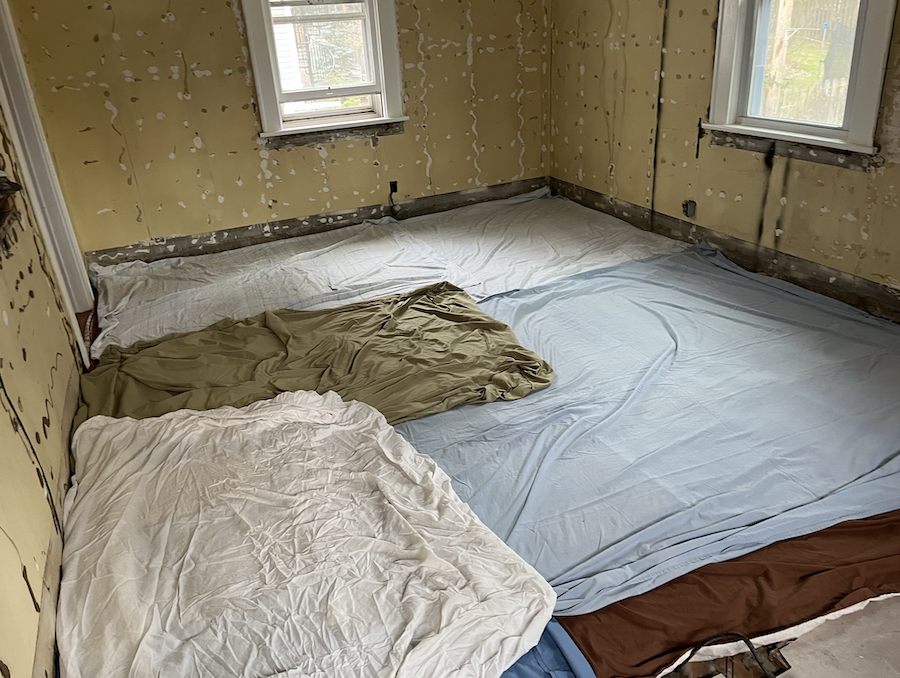
Then we went at it.
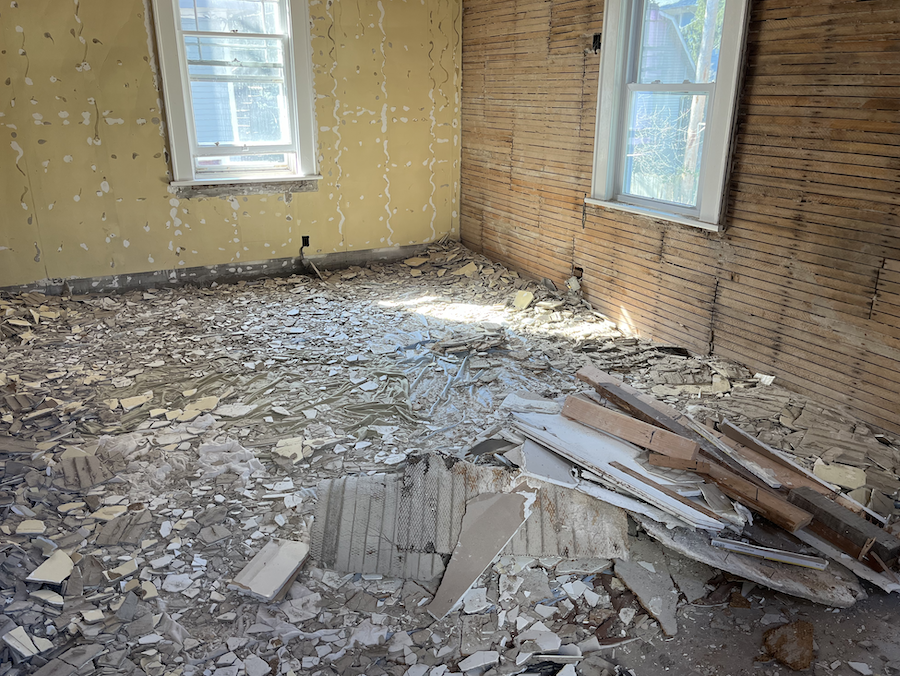
And at it, and at it. We filled two dumpsters just with rubble, old paneling, and various other tear-outs from the bathrooms and kitchen.
Finally, the space was ready for moving forward.
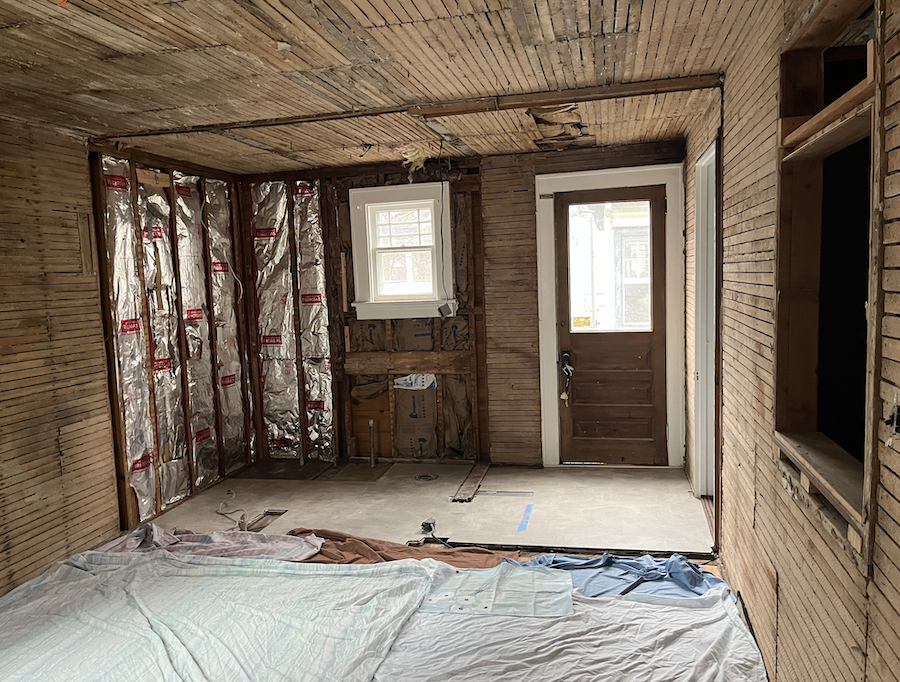
Or so I thought. Then the tiler explained we had to tear out the flooring of the old bathroom so the the new flooring would be at the right height.
So, out came the flooring, down to the subfloor of the first-floor bathroom.

By the way, looking at these photos, you may have noticed by now an opened wall space between the bedroom/office and the kitchen. When we demoed this area, we discovered that there apparently used to be a window there!
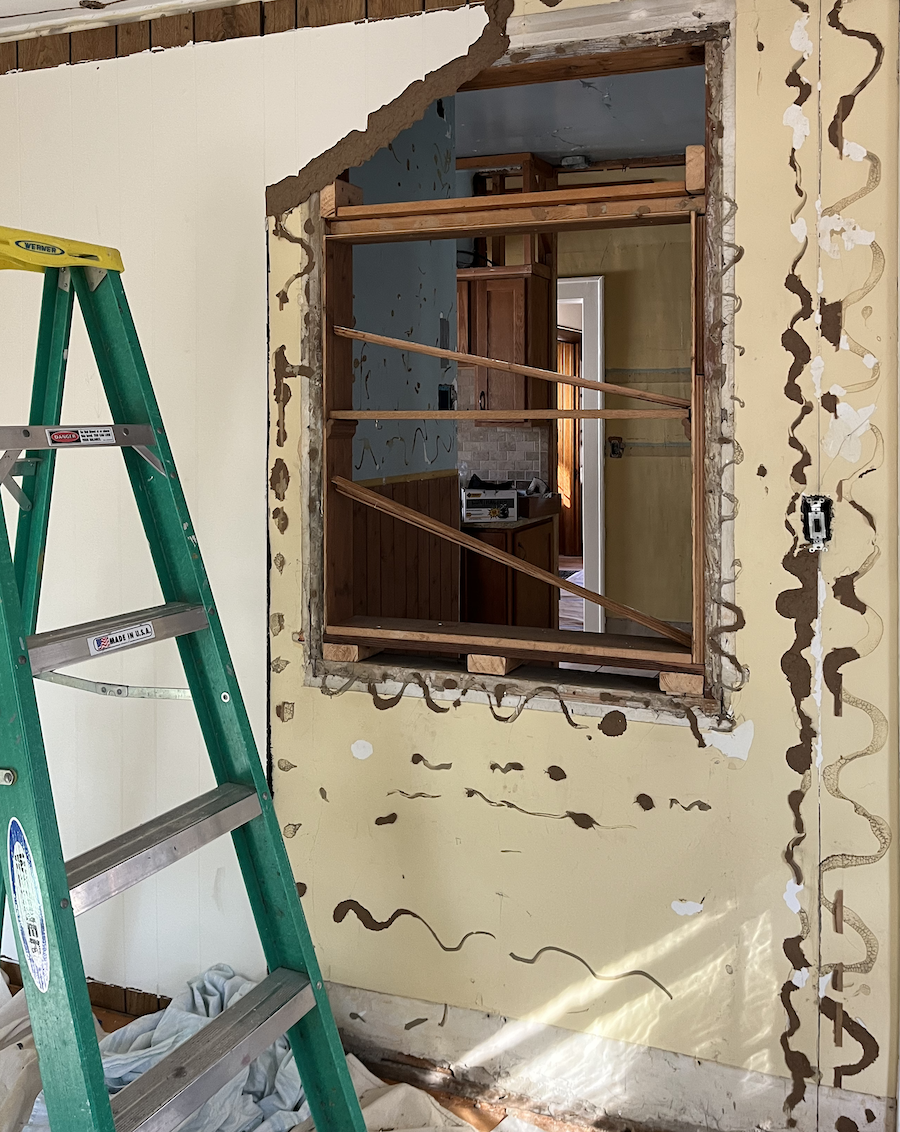
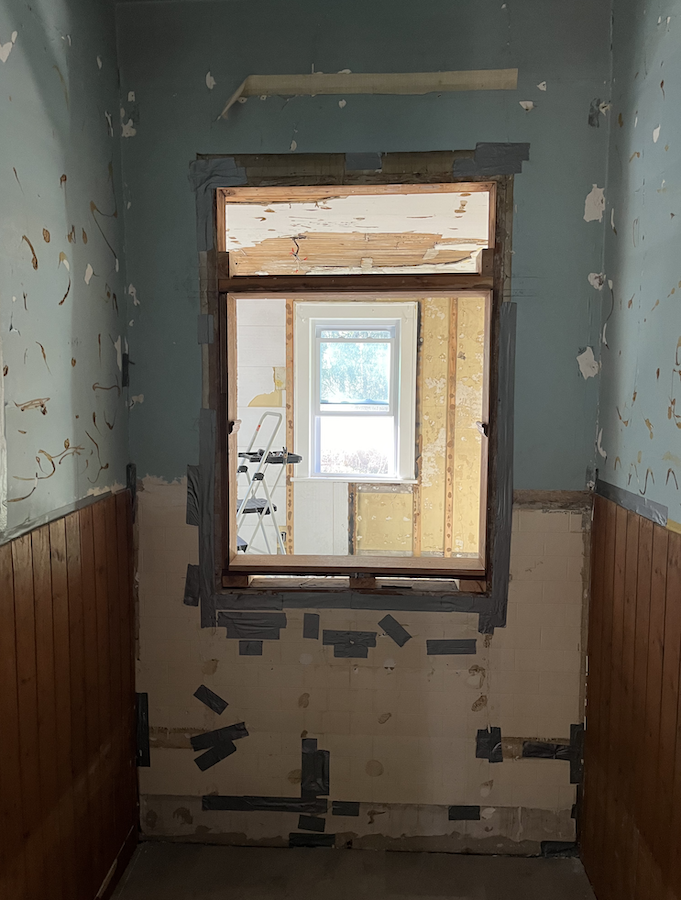
We also found reasons to conclude that what was the back window in the bedroom/office had once been a door—a door that had probably led to back steps where the carport now is. That's why we think the space was probably once a porch. That would also explain why it was so badly insulated.
At some point in all this, I despaired of ever finishing demo. The drywaller and the framer and the plumber and the electricians seemed to just keep asking for more and more removal.
But then, we hit an important day. The framer spent several hours measuring and remeasuring everything, and then he nailed down a piece of 2x4 in the flooring of the back extension and called me in to see it.
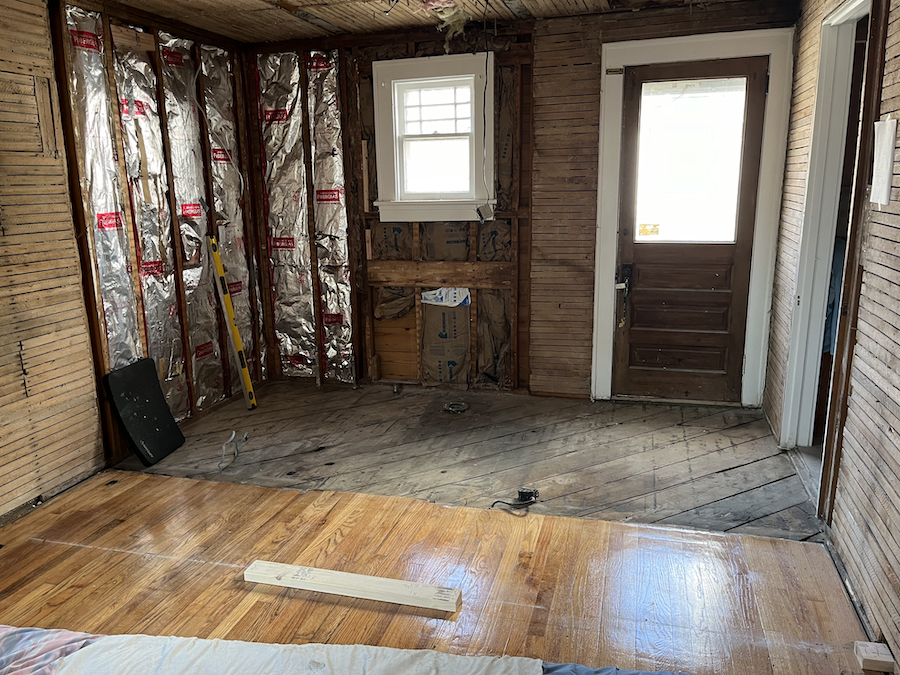
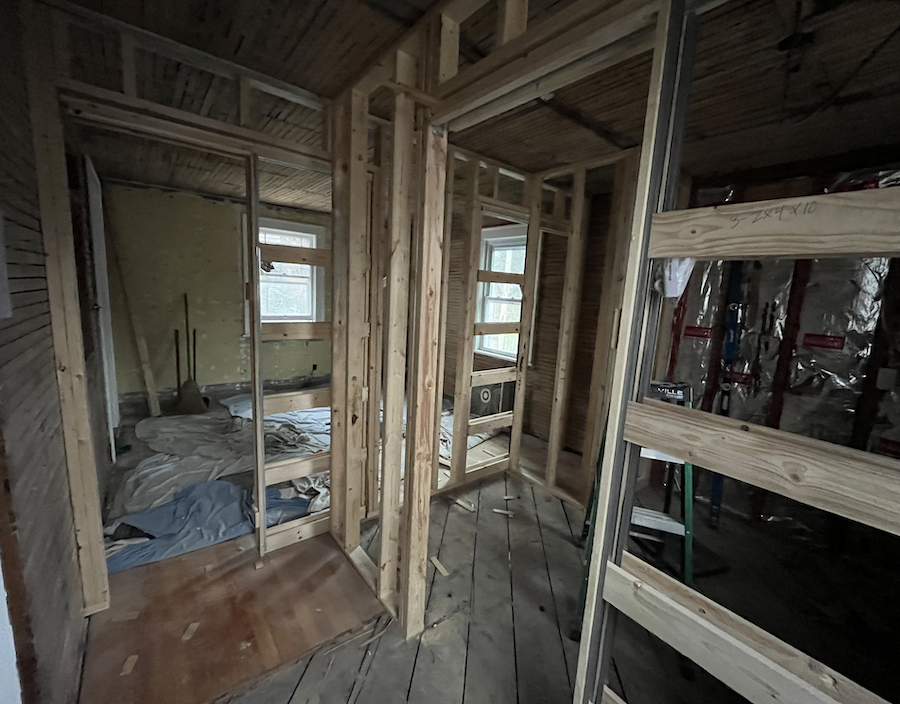
That board marked where the new wall between the bathroom and bedroom would go. It meant he was ready to start reshaping the space for us!
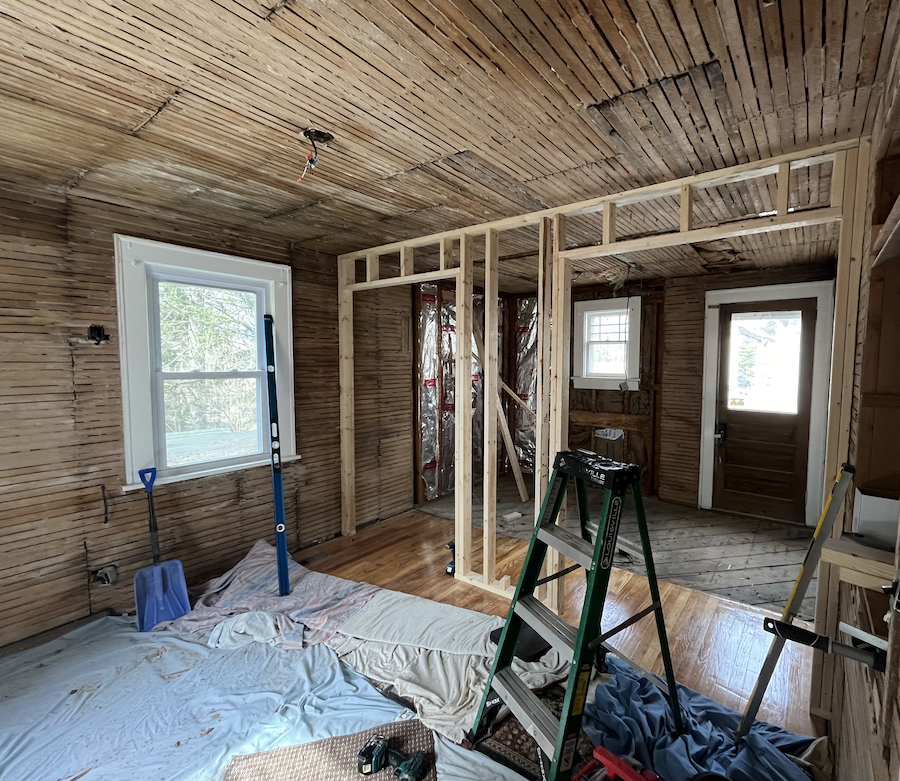
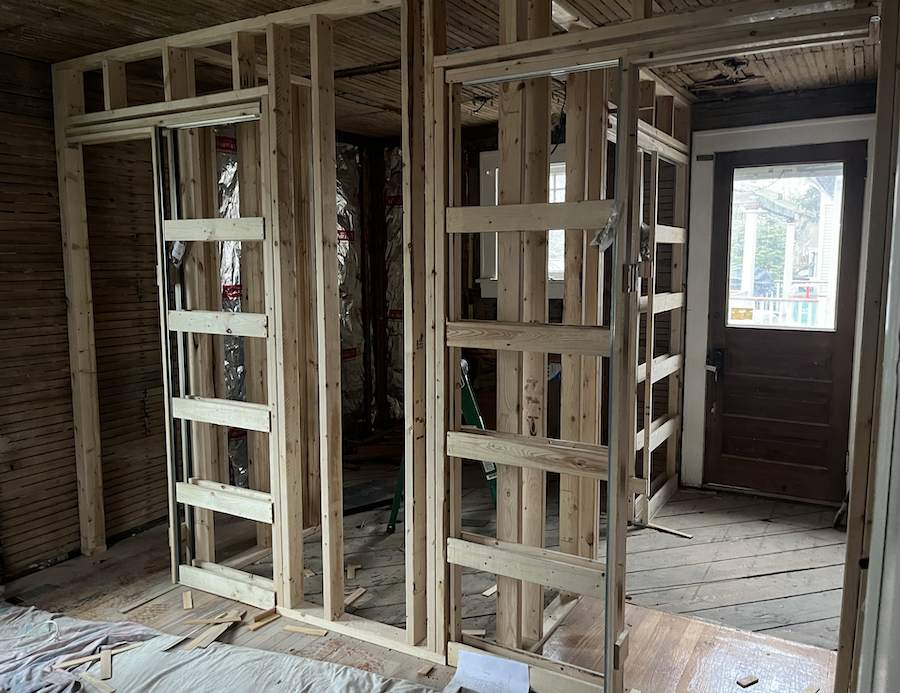
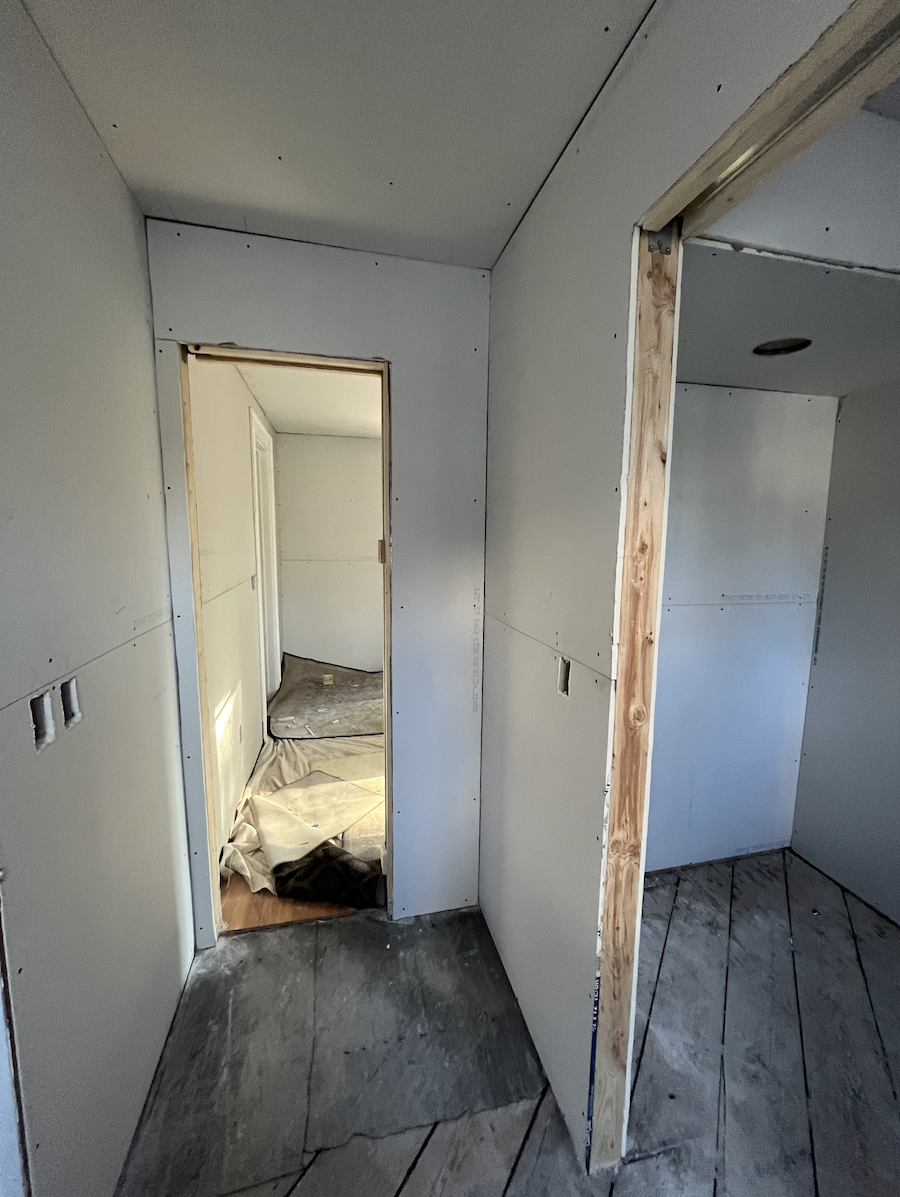
In the photo above, you see the space taking shape. To the left is the opening for a new closet for the bedroom/office. (It didn't have one before.) To the right is the opening for the door from the bedroom/office to the new vestibule. Both those openings would eventually get pocket doors that were repurposed doors salvaged from the original space. Pocket doors would mean much easier flow in these spaces.
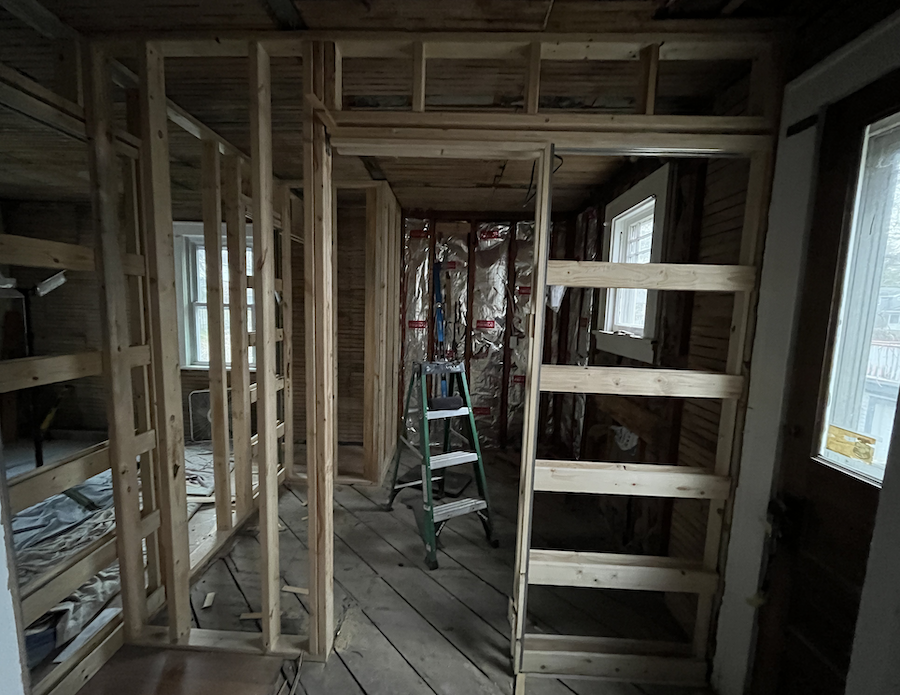
The next image shows you this stage as seen from the vestibule just off the kitchen.
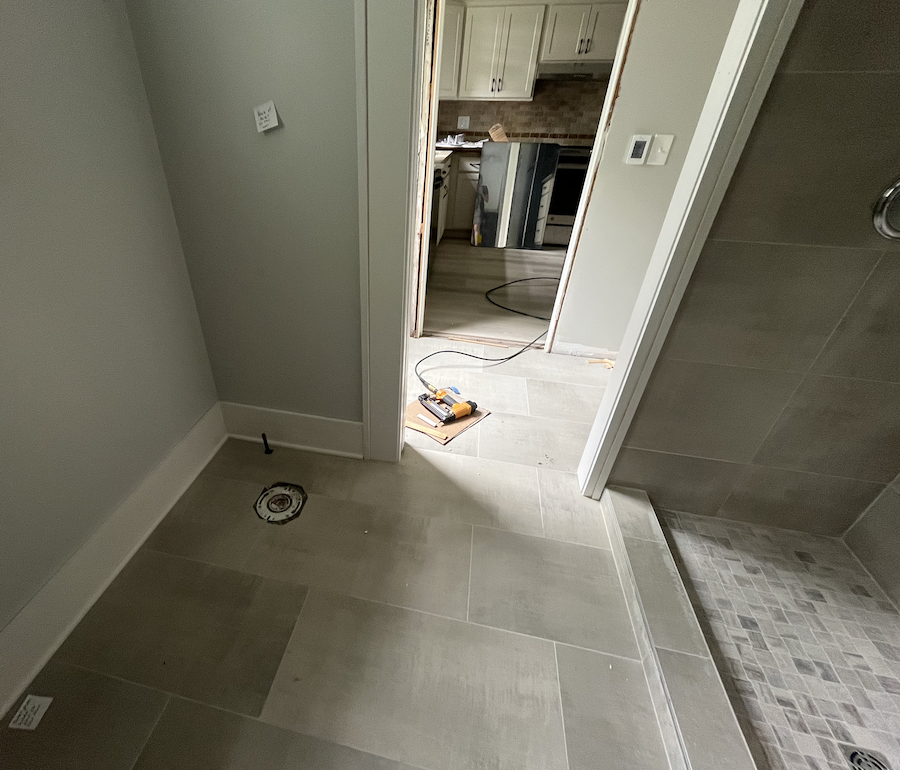
Here's how the new bathroom looked from the kitchen doorway as the space was shaping up.
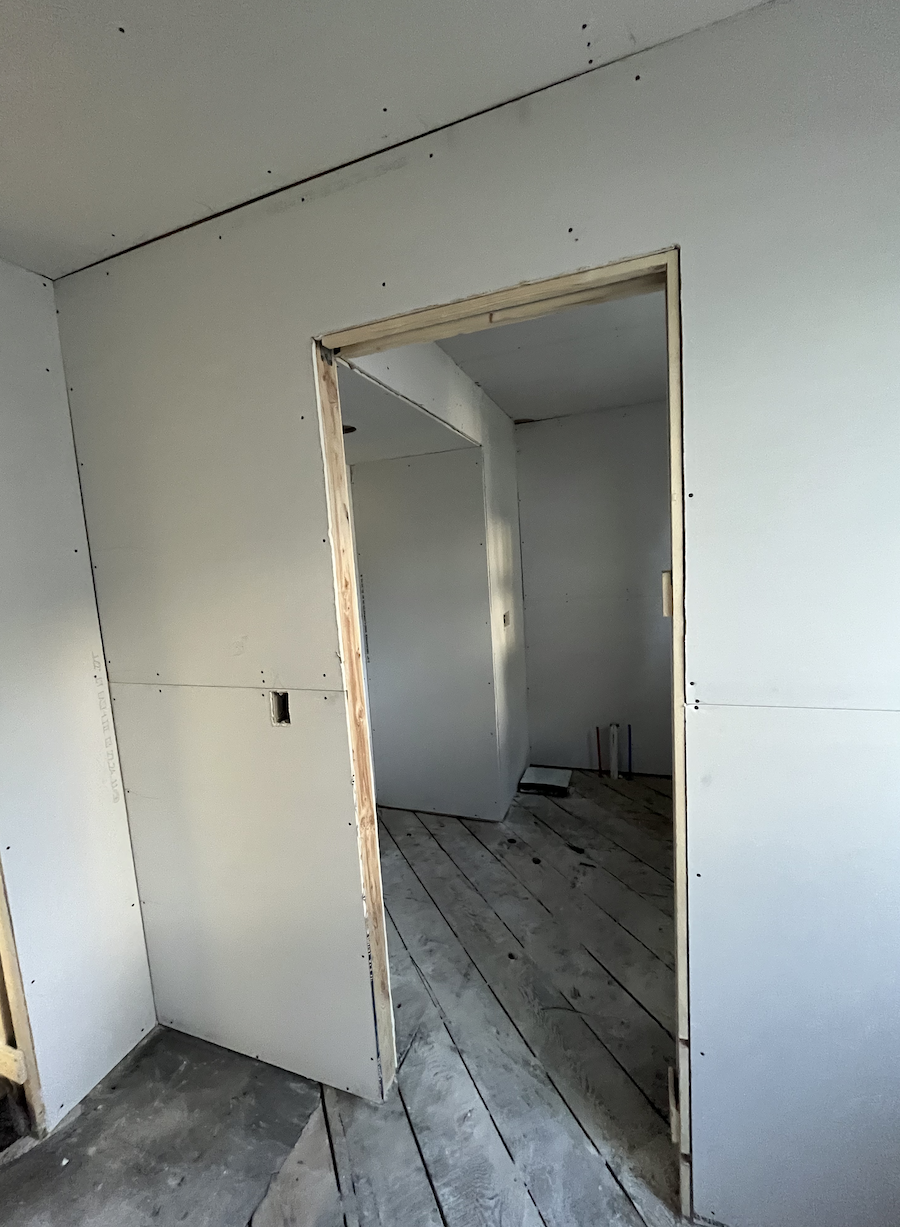
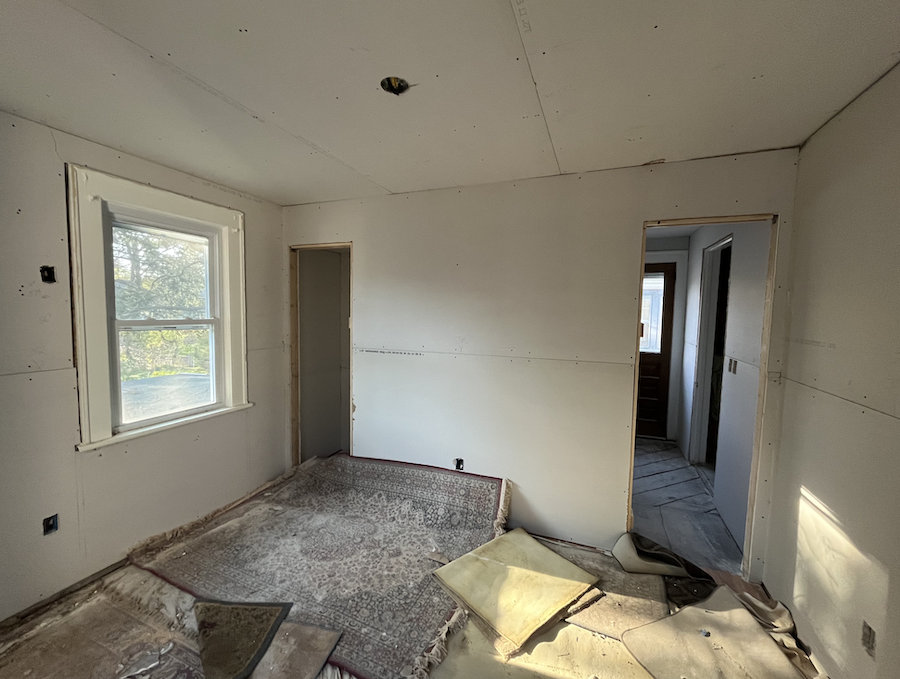
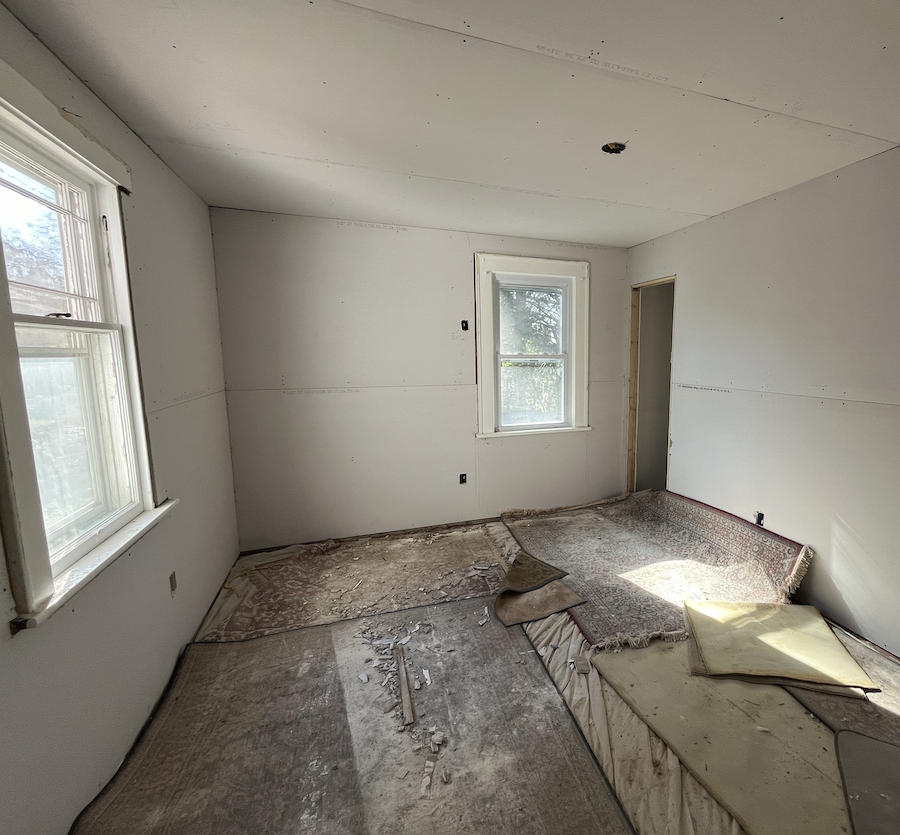
Once the framing was set, the electricians and the plumber did their things—namely all new electric and plumbing for this space—and we got to see the new drywall start to be installed!
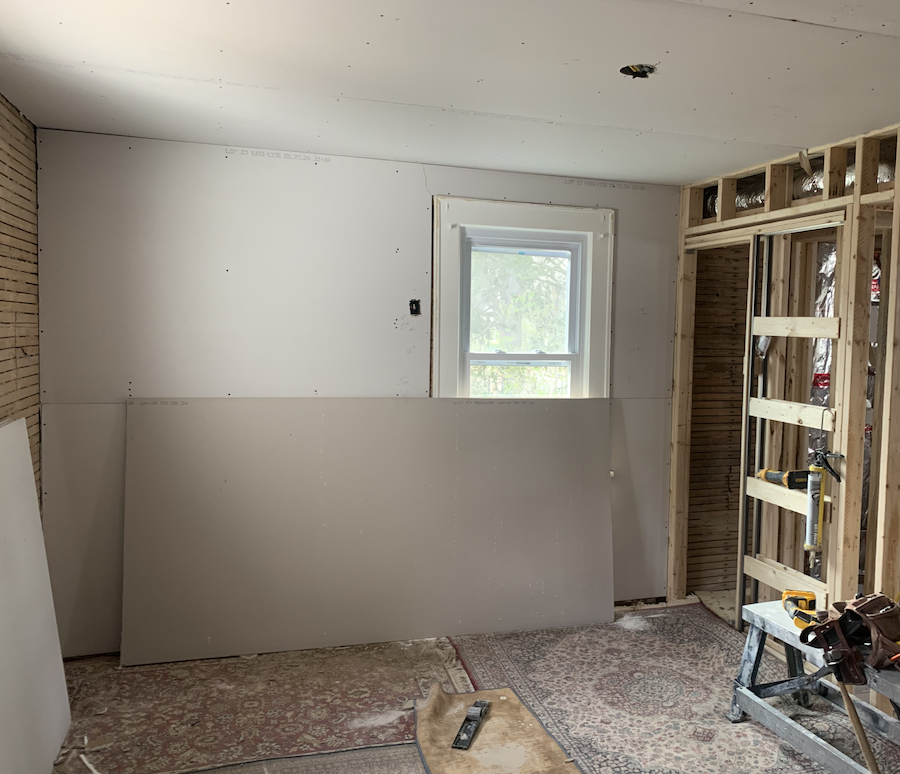
At this point, the HVAC guys were also working to put in a proper ventilation fan for the new shower and to create new heating ducts for the bathroom and the heated chamber. We also paid another pro to add proper insulation to this entire extension so that it would no longer feel drafty.
Some of the contractors' supplies caused a certain degree of giggling.
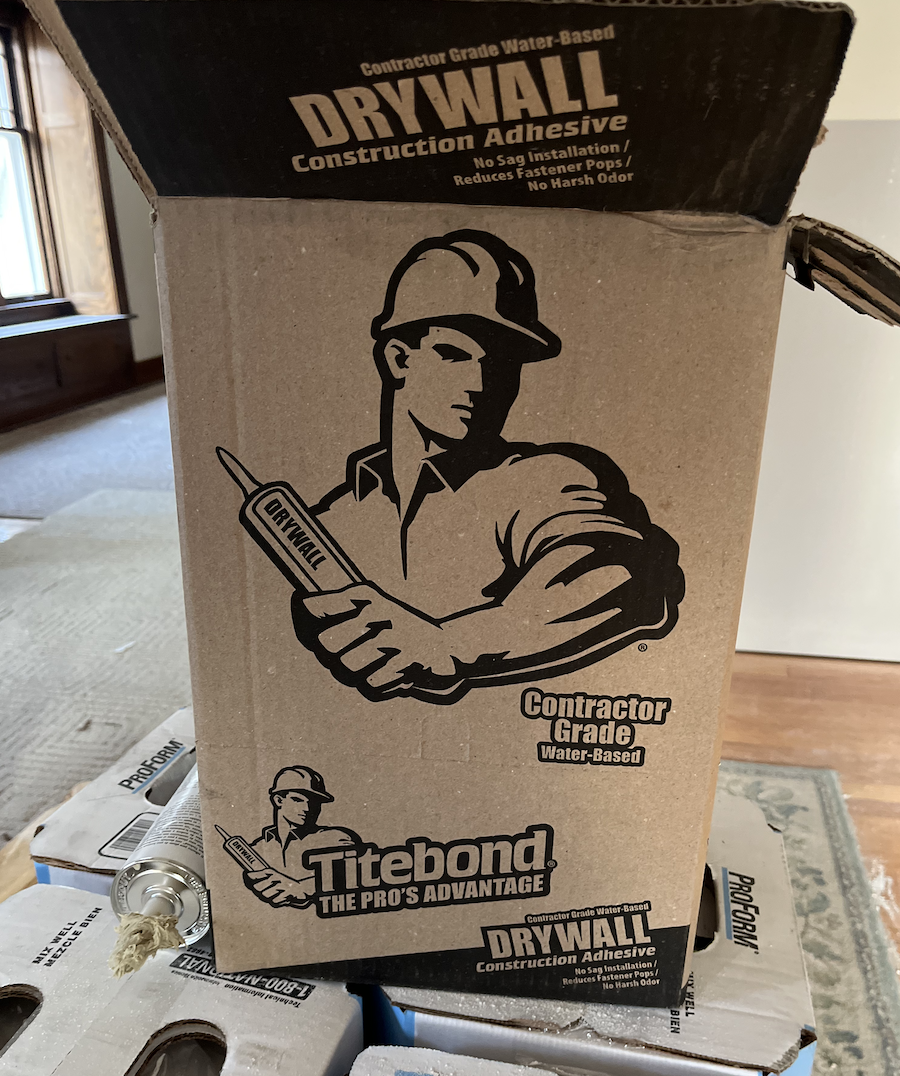
Though handsome to a one, no doubt, our contractors didn't look quite like that. I mean, they didn't wear hard hats.
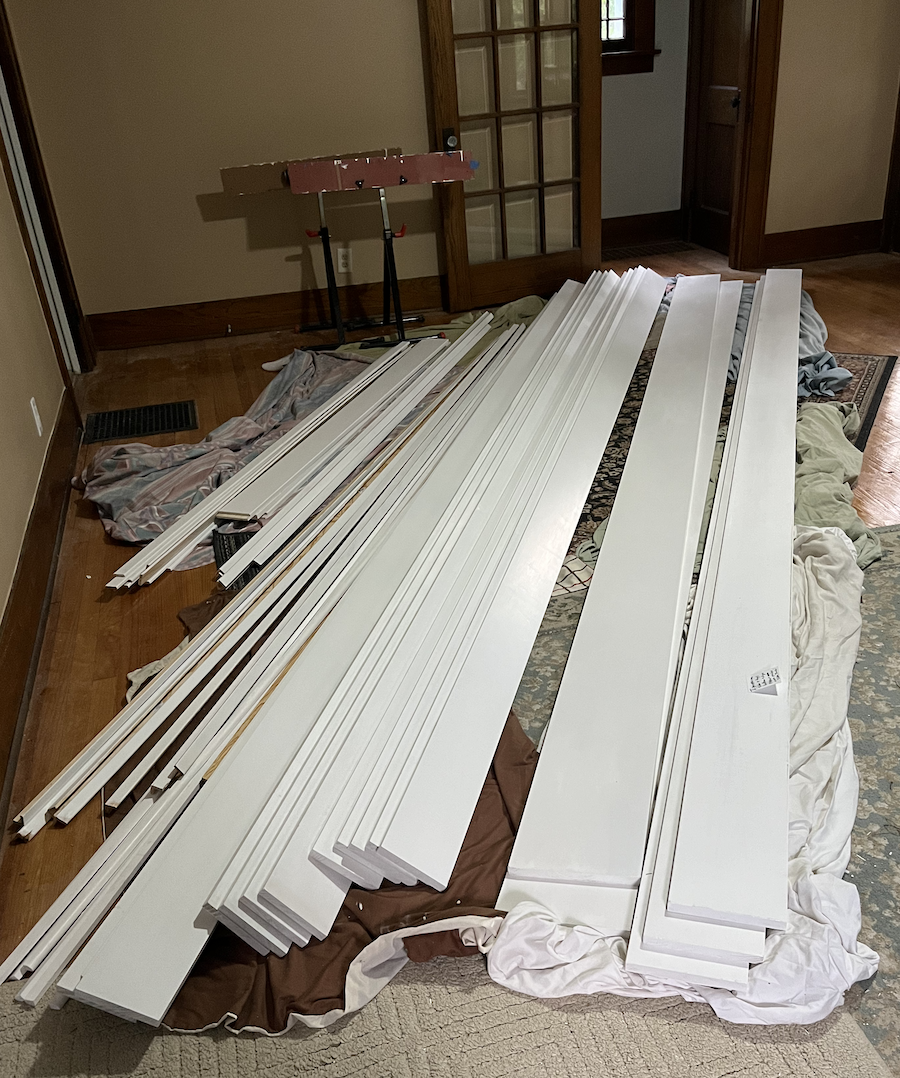
At some point, the framer, who would also be our trim-finisher, let me know it was time to paint the new trim. This was part of my ongoing sweat equity work, so I spent an entire weekend doing nothing but painting hundreds and hundreds of feet of trim for the first floor renovated spaces (kitchen, bedroom/office, vestibule, and bathroom) and the second floor bathroom.

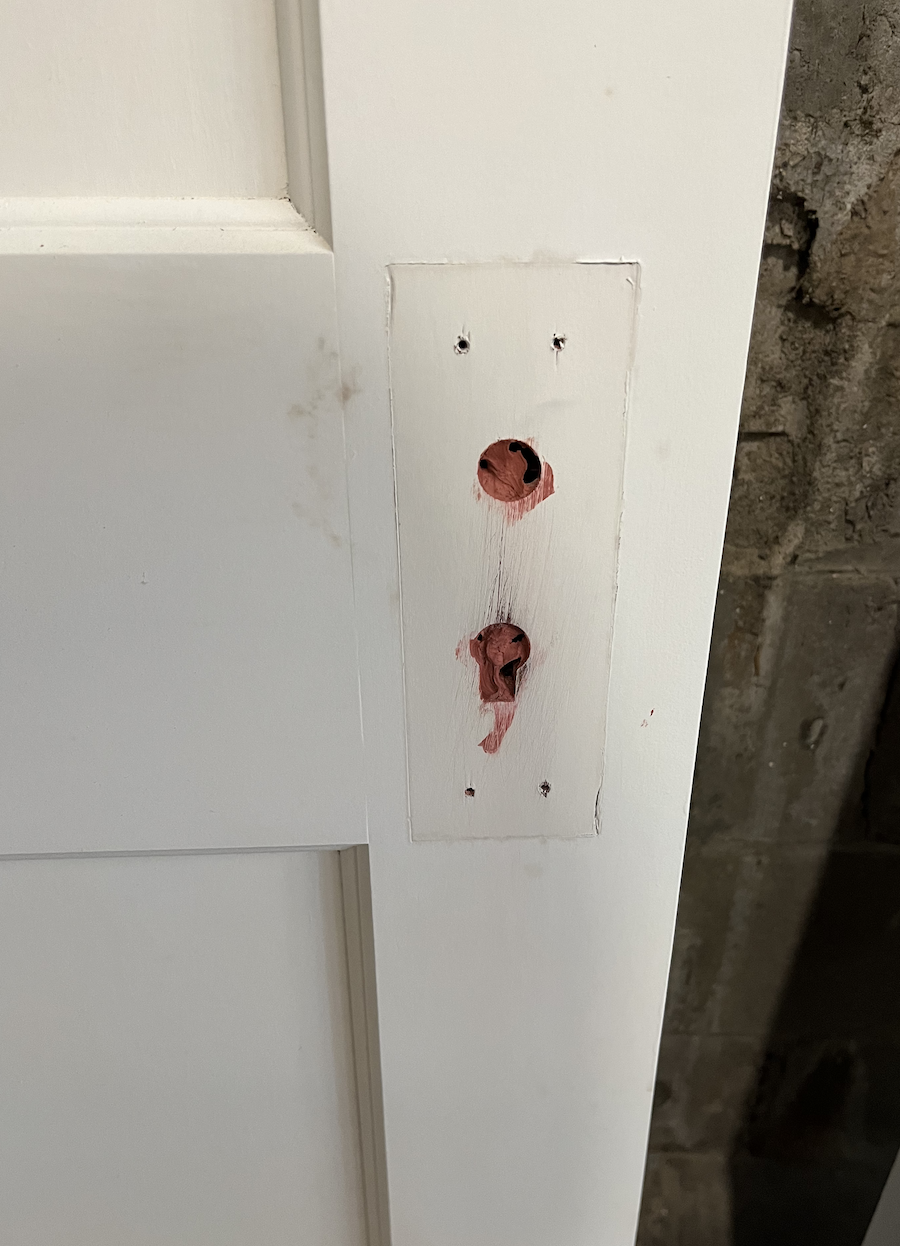
Converting three of the old doors into pocket doors meant having to remove the hardware and then cover up all the holes from the doorknob hardware. The general contractor explained to me that, for this, I needed to use Bondo, the stuff typically used to deal with big car dents.
Meanwhile, the tile guy was doing his magic in the vestibule and main floor bathroom, laying the electric heating pad for the floor and tiling the floor and shower.
The general contractor who did our framing (and advised me throughout—advice I happily paid him for) called himself the "trim wizard," and as I watched him install All That Trim, I understood why.
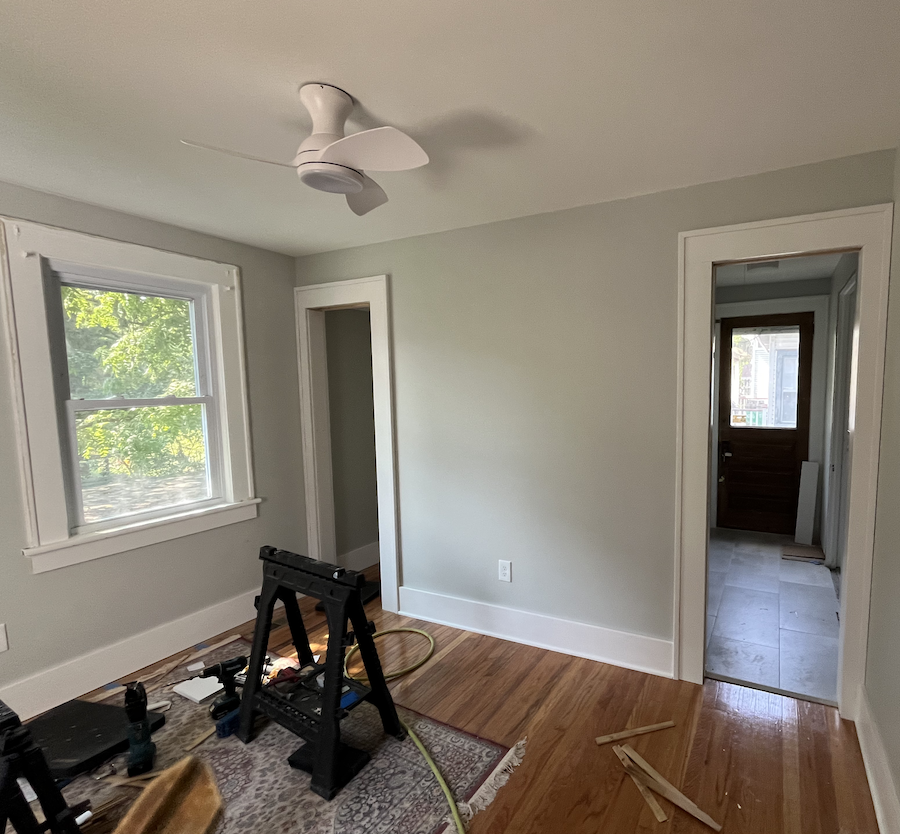
He knew just how to get the proportions right and he dealt with some really gnarly corners with aplomb. He made all the trim look period-appropriate, too. Not fussy; just classy.
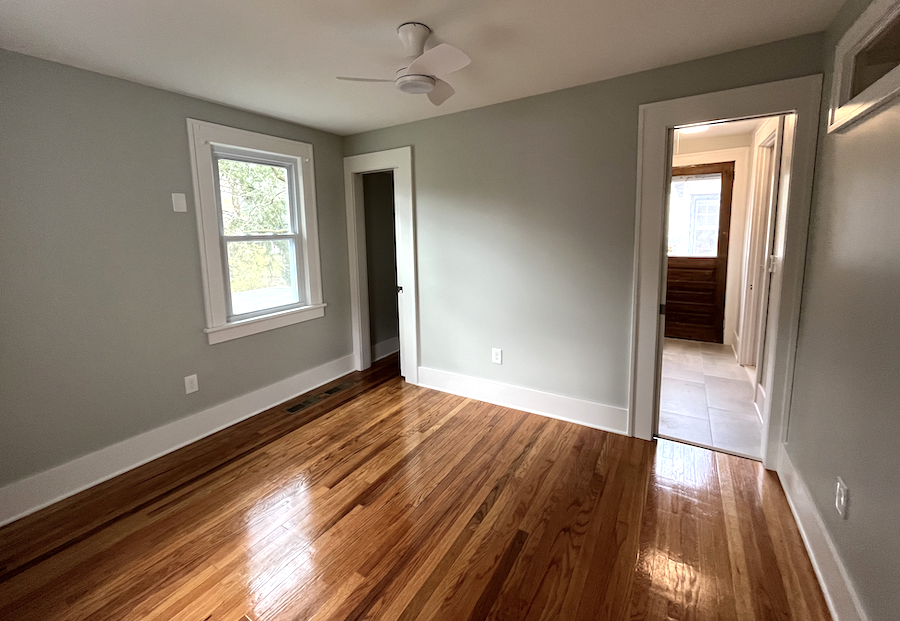
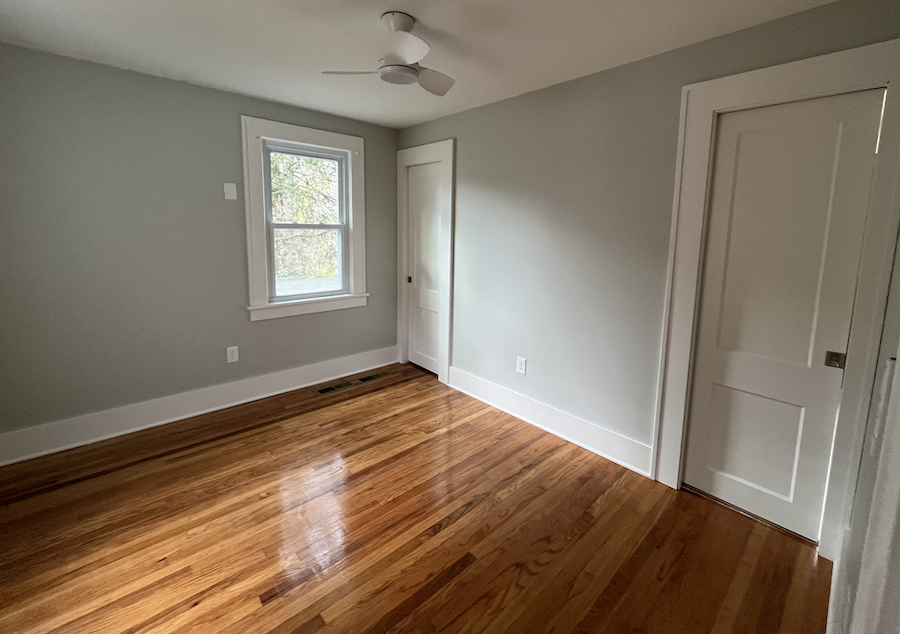
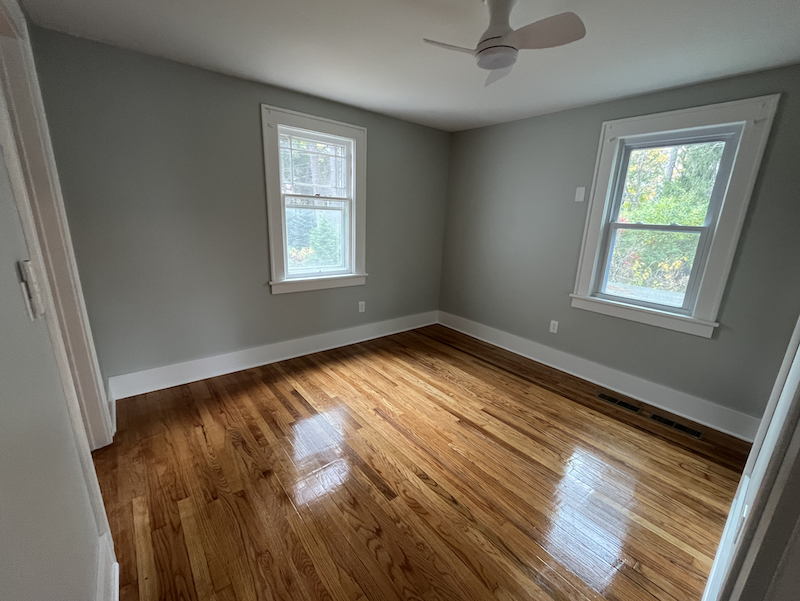
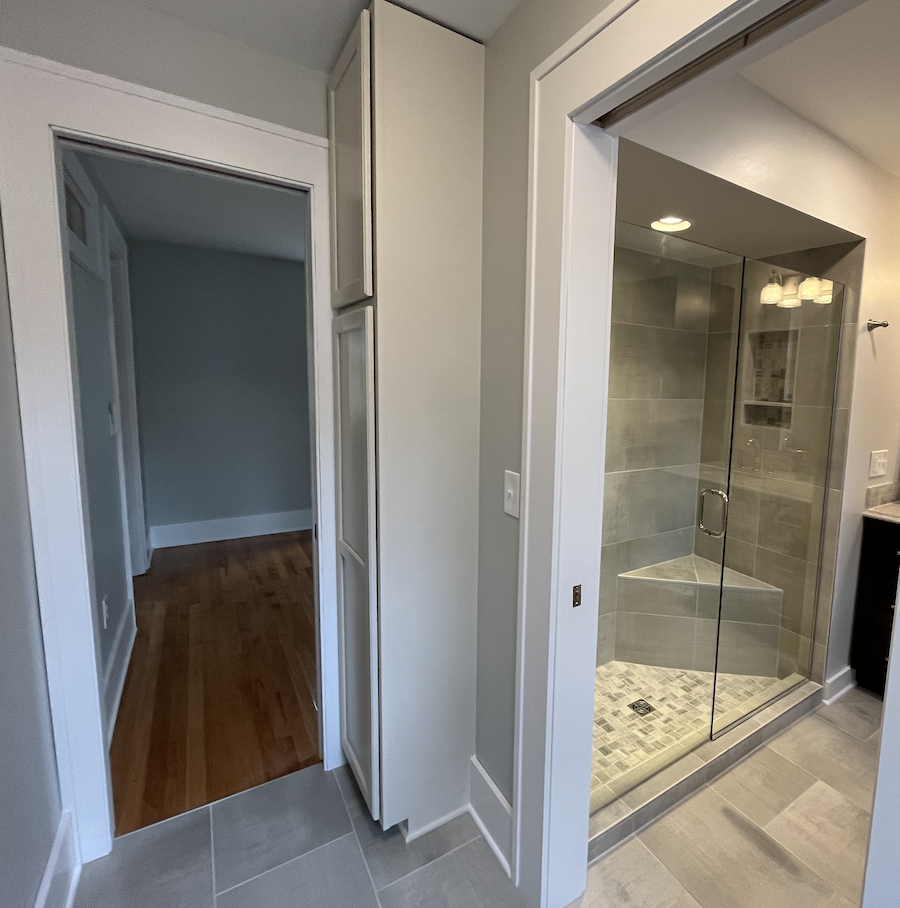
Some time in here, the Tennessee crew came and took over for nine days, installing the bathroom cabinetry and the new pantry/broom closet in the new vestibule. (They also did all the cabinetry work in the upstairs bathroom and kitchen.) And voila!
Here was the old view from the bathroom to the vestibule and kitchen.

And here's how it looks now.
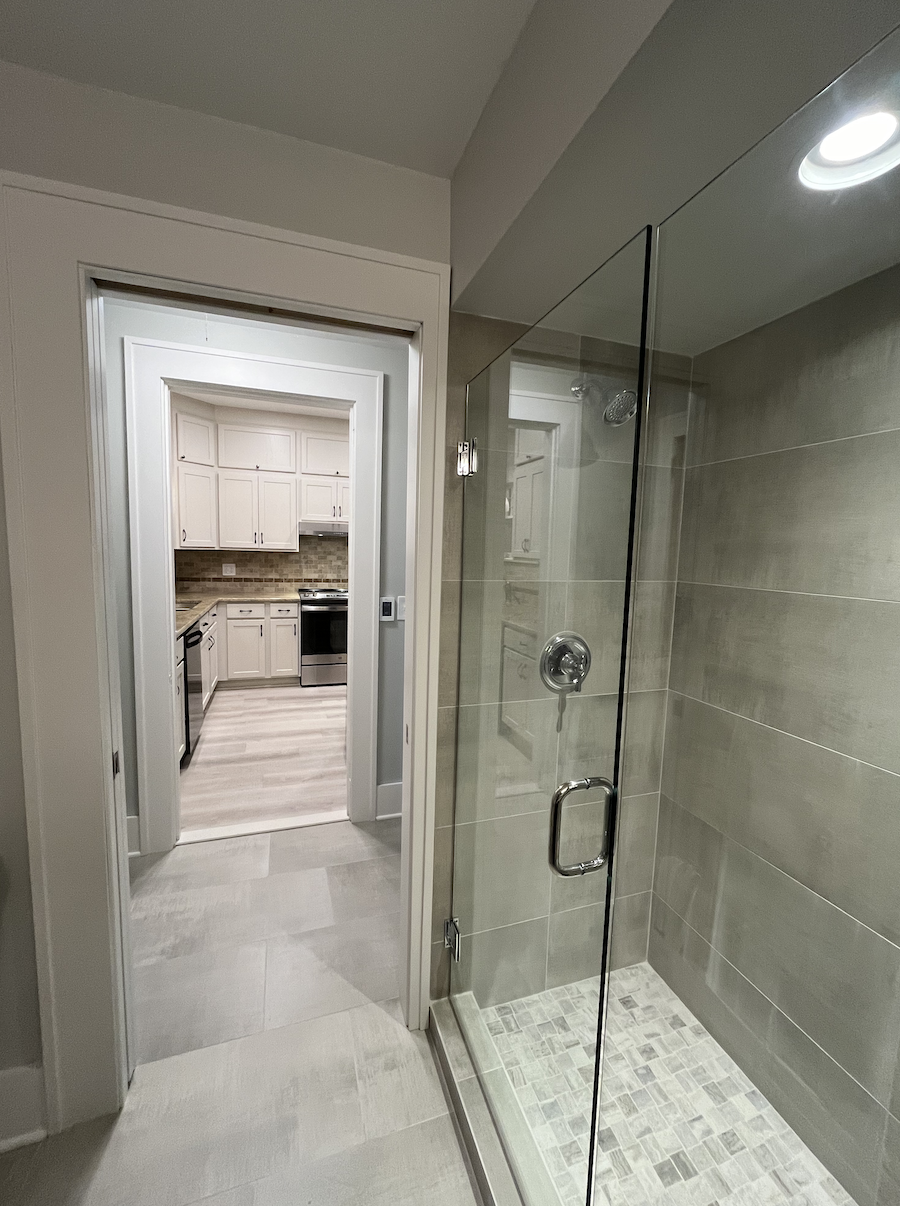
Here's the bathroom when we bought the house in January.
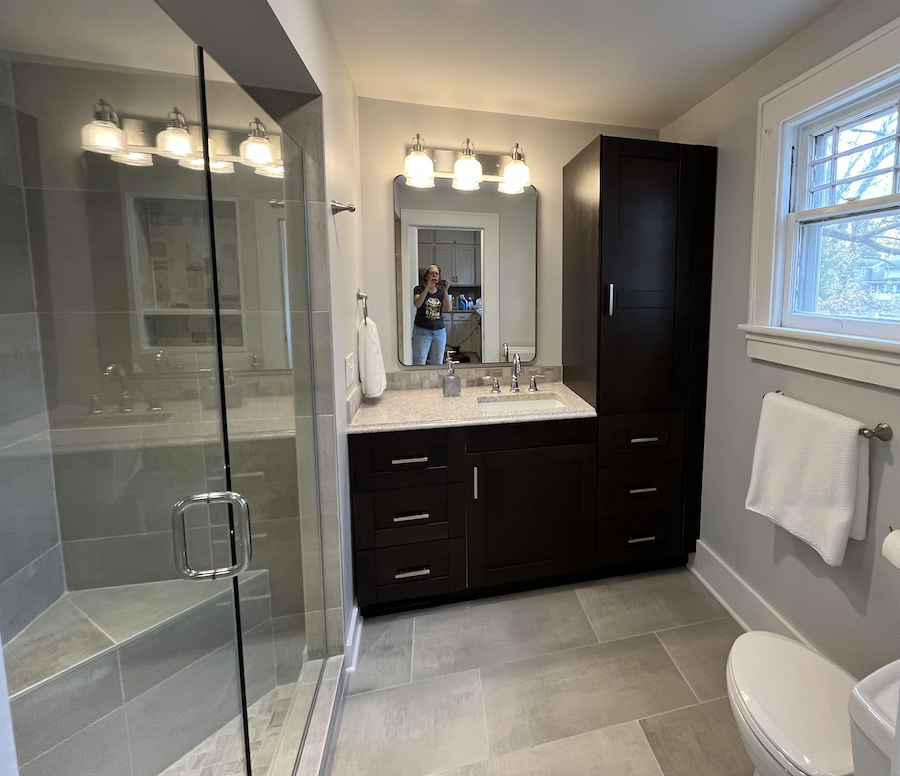
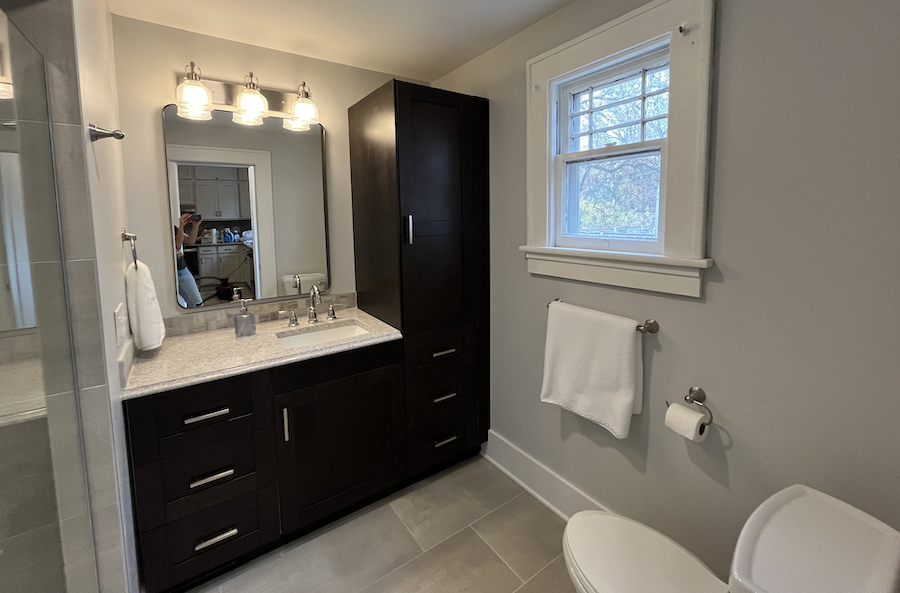
And here it is today:

And here is the pantry/broom closet in the new vestibule:
When I look back at these photos of the process, especially the demo, I realize how much of the work I've forgotten. It seems it's a little like giving birth that way!
In any case, I am very proud of this "baby." The contractors who worked on it with me did terrific work. Yes, it was very expensive—this section of the house probably cost around $30,000, all told—but it is now a truly comfortable and modern (and to-code) extension to a great house.
In our final installment of "Before (& During) & After," I'll show you the biggest wow: the kitchen reno. Stay tuned!